Catalog
Search
471 products
View:
- Selected: 0Areas of use
- Selected: 0Item names
- Selected: 0Manufacturer
- Selected: 1Made in
- Selected: 0Additional
View:
471 products
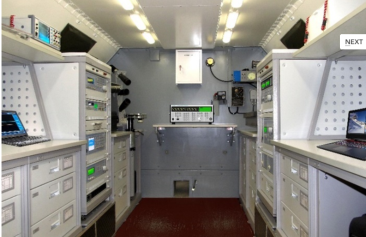
Mobile laboratory of measuring equipment PLIT-A2-4/1M
The complex is equipped with air conditioning, heating and ventilation systems to create and maintain a preset temperature level (20 ...25) ° C in the van body, at an outdoor temperature from minus 40 ° C to 40 ° C.
PLIT-A2-4/1M is equipped with a removable diesel electric unit with a capacity of 16 kW, which ensures the functioning of all systems in autonomous mode.
A set of functionally related working standards, special equipment and automation tools allows you to implement comprehensive metrological maintenance of measuring instruments at workplaces
TEKHNOYAKS
Moscow
Produced in: Moscow

Vacuum electric arc furnace for melting special materials VDP-130-7.5
Residual pressure in the furnace, millimeters of mercury 7,5*10-6
Arc heating method
VakETO
Mosrentgen
Produced in: Moscow
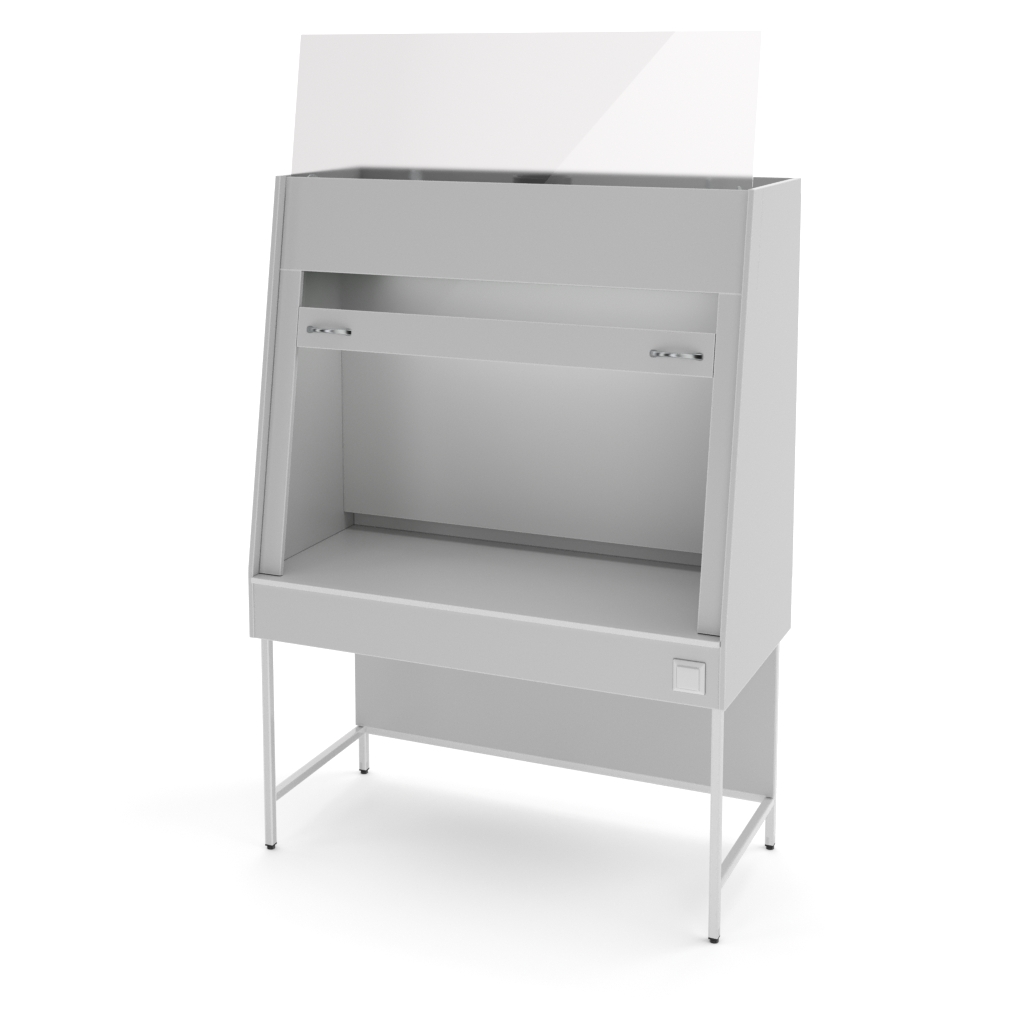
NV-1500 SHV-M Fume cupboard without a cabinet and with a table top made of chipboard
from
37 864 ₽
The NV-1500 SHV-M is one of the budget fume cupboards of the NV line. It is single-frame, with a laminated table top 700 mm deep. It is intended mainly for analytical laboratories.
External dimensions of the cabinet (W×D×H): 1410×700×1960 mm.
Dimensions of the working area (W×D×H): 1378×540×750 mm.
Table top: laminated chipboard.
A minimalistic solution for your laboratory
The NV-1500 SHV-M fume hood has a minimum of functions, which makes it so inexpensive.
The table top is made of laminated chipboard. It is relatively moisture-resistant, resistant to short-term exposure to acids, alkalis and organic solvents. This countertop does not tolerate strong heating or prolonged exposure to solvents, concentrated acids and alkalis.
The working area is closed by one lifting frame with a counterweight. It has two exhaust zones: the hood of the exhaust box and the level of the countertop. Diameter of the flange for connection to the ventilation system: 150 mm.
Working area size (W×D×H): 1378×540×750 mm. Please note that the cabinet narrows upwards. At a height of 50 cm, the depth of the working area will be 410 mm, at a height of 70 cm: 365 mm. If you need to place high equipment, then make sure that it corresponds to the dimensions of the camera, otherwise you will not be able to close the cabinet.
The height of the raised glass above the cabinet: 510 mm, that is, when the glass is raised, the height of the cabinet will be 2470 mm.
The working area is illuminated by an LED lamp (included in the package). The switch is located on the right-hand side of the cupboard.
The base of the cabinet is an all-welded metal frame in powder coating. The side laminated panels (chipboard 16 mm thick) are edged on the facade with a durable PVC edge 2 mm thick, which increases their impact resistance and mechanical strength.
The cabinet legs are adjustable in height within two centimeters, allowing you to place the cabinet even on a rather uneven floor.
NV LAB
Moscow
Produced in: Moscow, Moscow region

Sorption-filtering analytical filters AFA-SI-20
Sorption analytical filters AFA-SI are used for simultaneous capture and determination of samples of aerosols and vapors of radioactive iodine, followed by measurement of the delayed sediment by radiometric devices.
Doza
Zelenograd
Produced in: Moscow
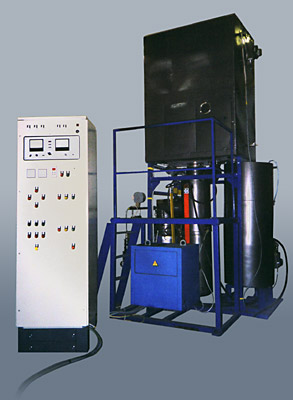
Vacuum quenching electric furnace type VZV-5—15.
The time of movement of the special product, from the moment of depressurization of the furnace to immersion in the quenching medium is less than 20 seconds;
VakETO
Mosrentgen
Produced in: Moscow
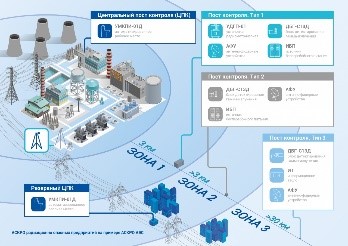
ASKRO: Automated radiation monitoring system
The installations are designed for continuous monitoring of the radiation situation at specified points of radiation objects with data transmission via VHF radio frequency channel and/or GSM/GPRS network.
Purpose:
radiation monitoring of industrial sites of nuclear power plants and other radiation facilities (RCP);
radiation monitoring of the environment of sanitary protection zones and observation zones (RCOS);
creation of an automated system for monitoring the radiation situation (ASKRO) of territories, sanitary protection zones (SPZ) and monitoring zones (ZN) of radiation-hazardous objects;
creation of situational crisis centers (SCC) of enterprises and regions.
Doza
Zelenograd
Produced in: Moscow

Vacuum distillation electric furnace of resistance VD-300-16
Distillation by the aluminothermic method
VakETO
Mosrentgen
Produced in: Moscow

rhFGF2
from
13 000 ₽
Fibroblast growth factor-2 is a member of the fibroblast growth factor family. It has mitogenic activity against target cells, is a neurotrophic factor, participates in the regulation of angiogenesis, individual development, tissue regeneration, reproduction and pathogenesis of a number of diseases, including malignant tumors.
SajStorLab
Moscow
Produced in: Moscow
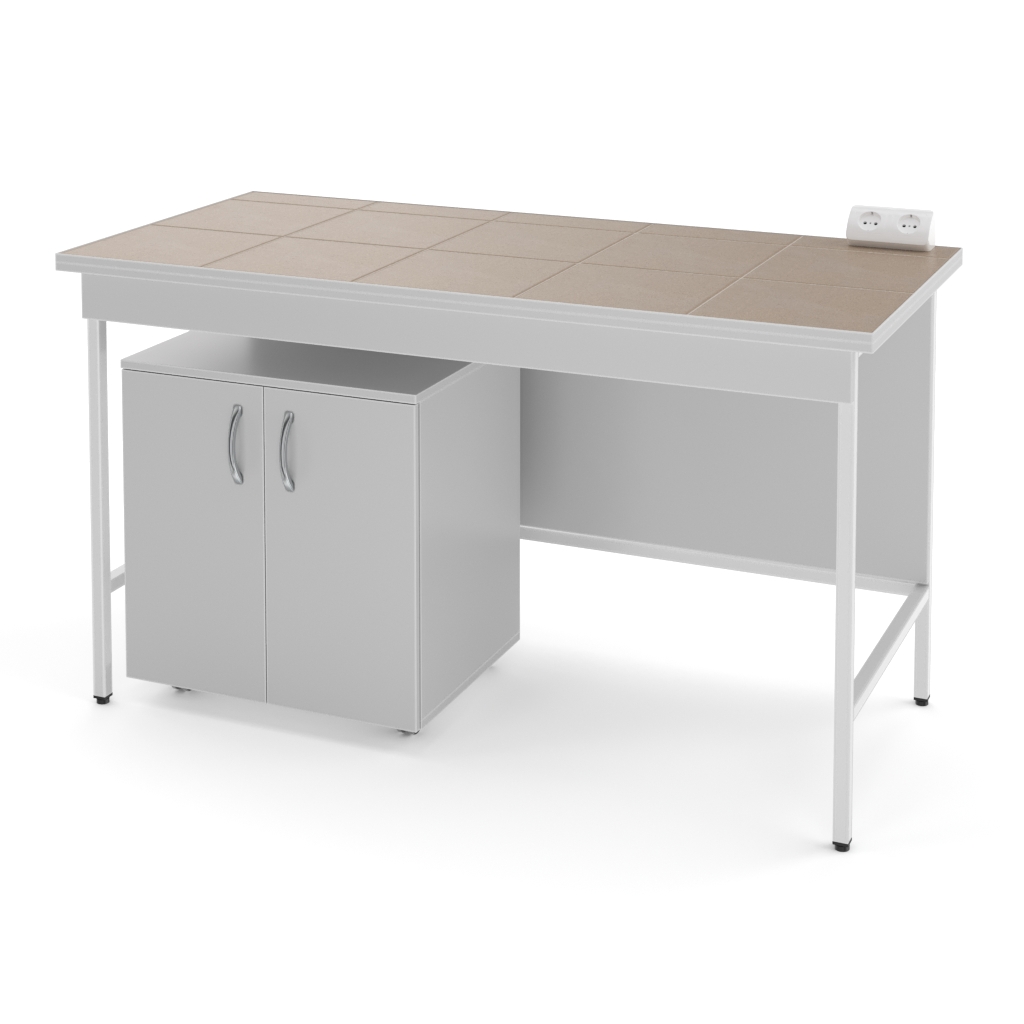
NV-1500 LX-Z Table for chromatograph (1500×700×850)
from
26 234 ₽
The NV-1500 LX-Z is a specialized laboratory table on a reinforced metal frame with a countertop width of 1500 mm. It is designed to accommodate heavy instruments, such as chromatographs or other analytical equipment. The kit includes a side cabinet for storing accessories to the devices.
Dimensions of the table when assembled (W×D ×H): 1500×700×850 mm. It is designed to work standing up.
Dimensions of the stand (W×D×C): 600×460×650 mm. It fits under the table.
In the upper right corner of the table there is an electric panel with two sockets. Both sockets with grounding and shutters are designed for current up to 16 A and voltage up to 250 V.
Working surface material: porcelain tile. It is moisture-resistant and perfectly withstands high temperatures. It is resistant to prolonged exposure to concentrated acids, alkalis and organic solvents. It has limited resistance to hydrofluoric acid. This is one of the most popular types of countertops for laboratory furniture.
The tables have a reinforced welded all-metal frame painted with white powder paint. The side laminated panel (chipboard 16 mm thick) is edged with a durable PVC edge 2 mm thick, which increases its impact resistance and mechanical strength.
The legs of the table are adjustable in height within two centimeters, allowing you to place it even on a rather uneven floor.
NV LAB
Moscow
Produced in: Moscow, Moscow region
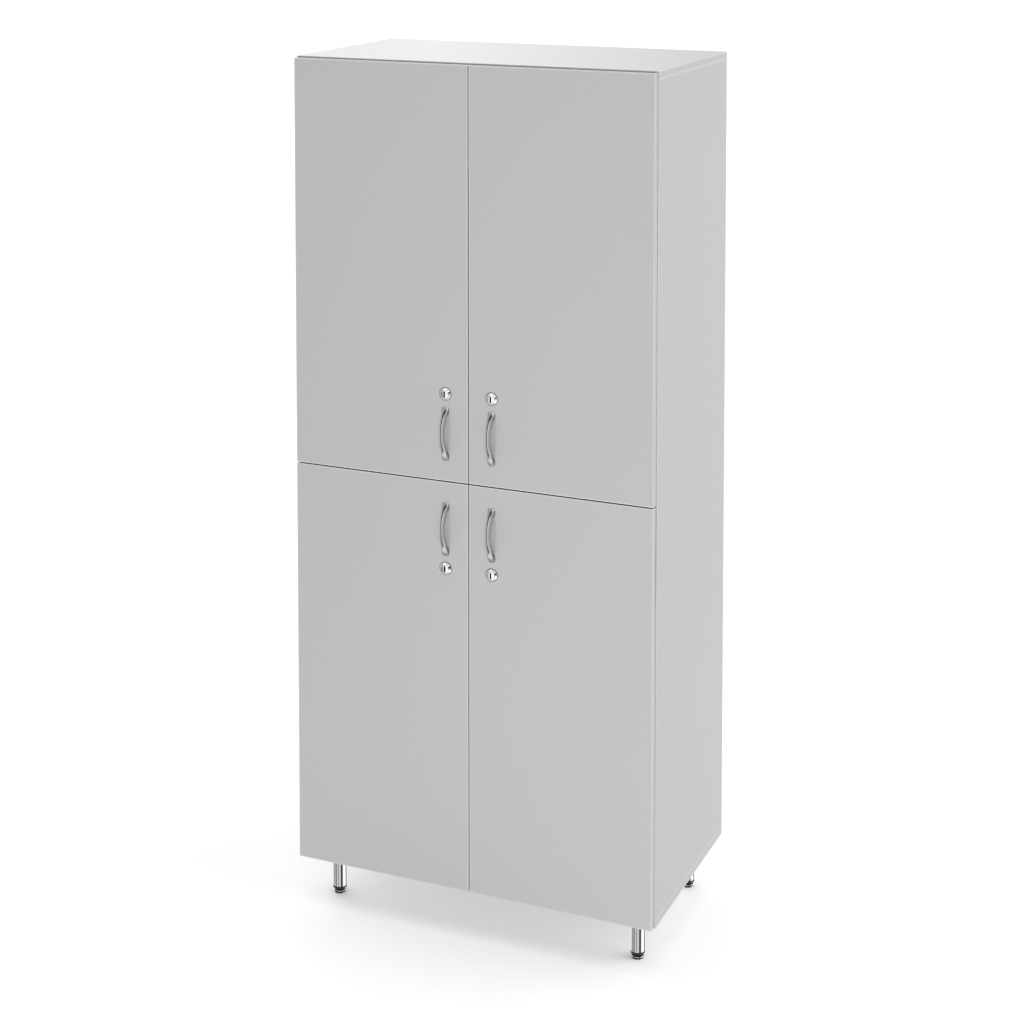
NV-800 SHR Two-section cabinet for chemical reagents (800*460*1820)
from
15 843 ₽
The NV-800 SHR cabinet for chemical reagents has 8 shelves-inserts and a middle wall. The cabinet is available in two versions: with a lock and without a lock. The cabinet is made of laminated chipboard with a 2 mm shockproof PVC edge on the facade.
The standard version of the NV-800 SHR laboratory cabinet for chemical reagents includes:
2 doors for the upper compartment
2 doors for the lower compartment
8 shelves-inserts
middle wall
metal legs 100 mmhigh
Additional equipment (options):
polypropylene pallets for storage of chemical reagents.
NV LAB
Moscow
Produced in: Moscow, Moscow region

Vacuum electric resistance furnace VUG-4-18
B – vacuum, 4 – the amount of the working space in dm3, 18 – the maximum operating temperature divided by 100, i.e., 1800 ° C.
VakETO
Mosrentgen
Produced in: Moscow
