Catalog
Search
678 products
View:
- Selected: 1Applying
- Selected: 0Names
- Selected: 0Manufacturer
- Selected: 0Made in
- Selected: 0Additional
View:
678 products
MX-10 Magnetometer
from
67 000 ₽
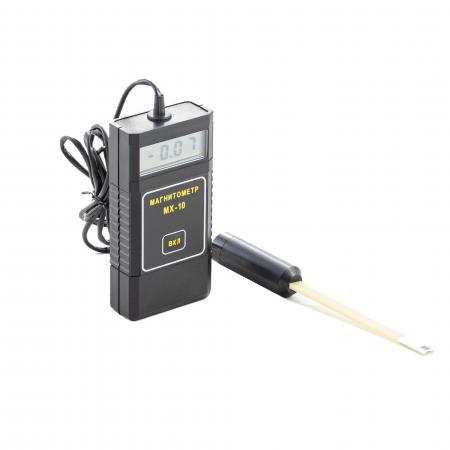
The MX-10 magnetometer is an auxiliary tool for conducting magnetic powder control using permanent magnets, rectified current electromagnets by the applied field method, as well as for monitoring by the residual magnetization method according to the requirements of the current regulatory documentation.
The MX-10 magnetometer meets the requirements in the field of non-destructive testing for the main industries: nuclear, energy, oil and gas complex, general and special engineering, railway transport, aerospace industry, elevator and crane facilities, etc.
Magnetometer MX-10 is an electronic measuring unit with a remote measuring converter, which is based on the Hall effect. The design of the device allows measuring both the normal and tangential component of the magnetic induction vector directly on the surface of the part. The measured value of the magnetic field induction value is displayed on the digital indicator of the electronic unit.
Features and Benefits
The updated version of the MX-10 magnetometer has a modern element base, which has significantly improved its performance, reduced error and expanded the measurement range (see the Table of Technical characteristics).
The device is capable of operating in two modes:
Constant measurement mode. This is convenient when carrying out a large number of measurements over a short period of time.
Automatic shutdown mode 1 minute after measurement. It allows you to save the charge of the device, which is especially important in the field.
A thermal compensation circuit ensures stable measurement readings at any temperature change.
Other features include:
The small dimensions of the Hall measuring transducer for the MX-10 magnetometer make it possible to measure the induction of the magnetic field in grooves, grooves, angular transitions, i.e. in those areas of the controlled product that are stress concentrators and are most dangerous from the point of view of cracking;
A wide range of measurements of the magnitude of the magnetic field induction;
The smallest measurement error among analogues in the entire operating temperature range;
Convenience of measurement by a remote measuring transducer in various planes;
Low power consumption and, as a result, long working time;
Low cost compared to similar models on the market;
Compact dimensions;
Manufacturer's warranty – 12 months;
The device is included in the state register of measuring instrument RU.C.27.004.A No. 36079 dated 01.09.2009 and has undergone a verification procedure. Magnetometer MX-10 (milliteslameter) it is also included in the register of measuring instruments, test equipment and measurement methods used in JSC "Russian Railways".
Scope of application
1. Verification of the magnetization modes of controlled parts using permanent magnets, rectified current electromagnets by the applied field method, as well as during the control by the residual magnetization method, by measuring the tangential and normal components of the magnetic field strength vector at one or more points on the surface of these parts. The number of points at which the magnetic field strength is measured and their location on the controlled surface depend on the shape of the part, as well as on the type and design of the magnetizing device used.
2. Control of the magnetization of parts before welding. During electric arc welding of non-magnetized parts, the effect of "magnetic blowing" is observed, i.e. the deviation of the electric arc from the axis of the electrode, the wandering of the arc end along the product, which leads to metal splashing during welding, deterioration of the seam quality. Therefore, before welding, it is necessary to measure the level and direction of magnetization of the parts and demagnetize them if necessary.
3. Verification of the residual magnetization after magnetic powder inspection. Demagnetization and verification of the residual magnetization of responsible, rubbing parts, as well as parts in contact with them after assembly, is prescribed in the requirements of the IPC and is a technological stage of control.
4. Magnetization control before assembling various structures. Magnetized parts can affect the operation of automation devices, cause errors in the readings of instruments, equipment. Magnetization can cause the accumulation of wear products in the movable joints, cause a negative effect on subsequent technological operations. Due to possible undesirable consequences, the parts are demagnetized and the quality of their demagnetization is checked.
5. Control of gas and water meters. Housing and utilities enterprises may also be interested in the device. It is known that existing gas or water flow meters can be easily "deceived" with the help of strong permanent magnets that reduce the rotation speed of the flow sensors. There are different ways to detect such theft. One of them is the control of the residual magnetization of the counters using magnetometers. The measured value should not significantly exceed the Earth's magnetic field, otherwise it can be concluded that there was unauthorized interference with the operation of the device.
Main technical characteristics
Measuring range, MT from 0.1 to 100
The limits of the permissible basic absolute measurement error, MT D = 0.02 VI + 0.05,
where VI is the magnetometer readings in MT
Power supply battery type: PP3 (nine-volt battery)
Consumption current, mA, no more than 15
Duration of continuous operation
(from fully charged batteries), h, at least 20
Overall dimensions, mm:
– electronic unit (LxWxH) 120x60x25
– Measuring transducer (Diameter x Length) 18x173
Weight, g, not more than 160
Ambient operating temperature, °C -10...+40
RII MNPO SPEKTR
Moscow
Produced in: Moscow
Pyrometer S-20.1 (-18...+500°C), LCU, 1:8
from
68 862 ₽
The infrared pyrometer S-20.1 is used to monitor the condition of objects and technological processes in various industries and farms, as well as during scientific research. In this case, the dimensions of the studied surface of the object are determined by the angular field of view of the pyrometer.
TEKHNO-AS
Kolomna
Produced in: Kolomna, Moscow region
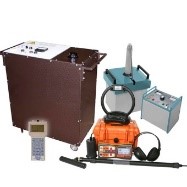
Portable Electrical Laboratory for testing and searching for cable damage by acoustic and induction method Athlete KAI-2.501
• Appointment Athlete KAI-2.501
o Search for a live cable.
o Detection of the passage of hidden communications (metal pipelines, cable lines).
o Preliminary detection of the distance to the place of damage.
o Search for places of cable damage by acoustic method.
o Search for places of cable damage by electromagnetic means.
o Cable insulation test.
o The presence of the "Friend-Foe" mode.
TEKHNO-AS
Kolomna
Produced in: Kolomna, Moscow region
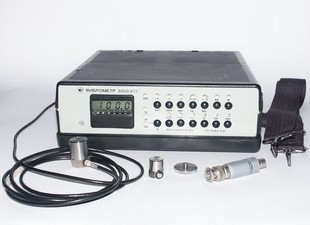
Vibrometer VVM-311
A portable vibrometer with a digital indicator is designed to measure the main vibration parameters (vibration acceleration, vibration velocity, vibration displacement) of operating equipment, machines and other objects in laboratory and industrial conditions.
VIBROPRIBOR
Yaroslavl
Produced in: Yaroslavl
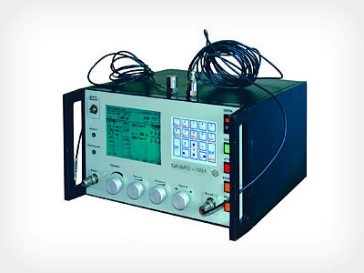
Vibration automatic monitoring and tracking equipment "Basis-001"
The equipment "Basis-001" is designed to measure vibration parameters, set and automatically maintain vibration parameters, control the vibration spectrum and determine resonant frequencies as part of vibration electrodynamic test units of the VEDS series (VEDS-100M; 200M; 400M; 1500M) and similar
VIBROPRIBOR
Yaroslavl
Produced in: Yaroslavl
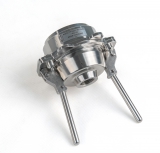
Filter holder FD-1D
The filter holder is designed to install an aerosol filter of the AFA type in it.
It is used in sampling systems of gas-aerosol media at radiation-hazardous and other production facilities.
Doza
Zelenograd
Produced in: Moscow
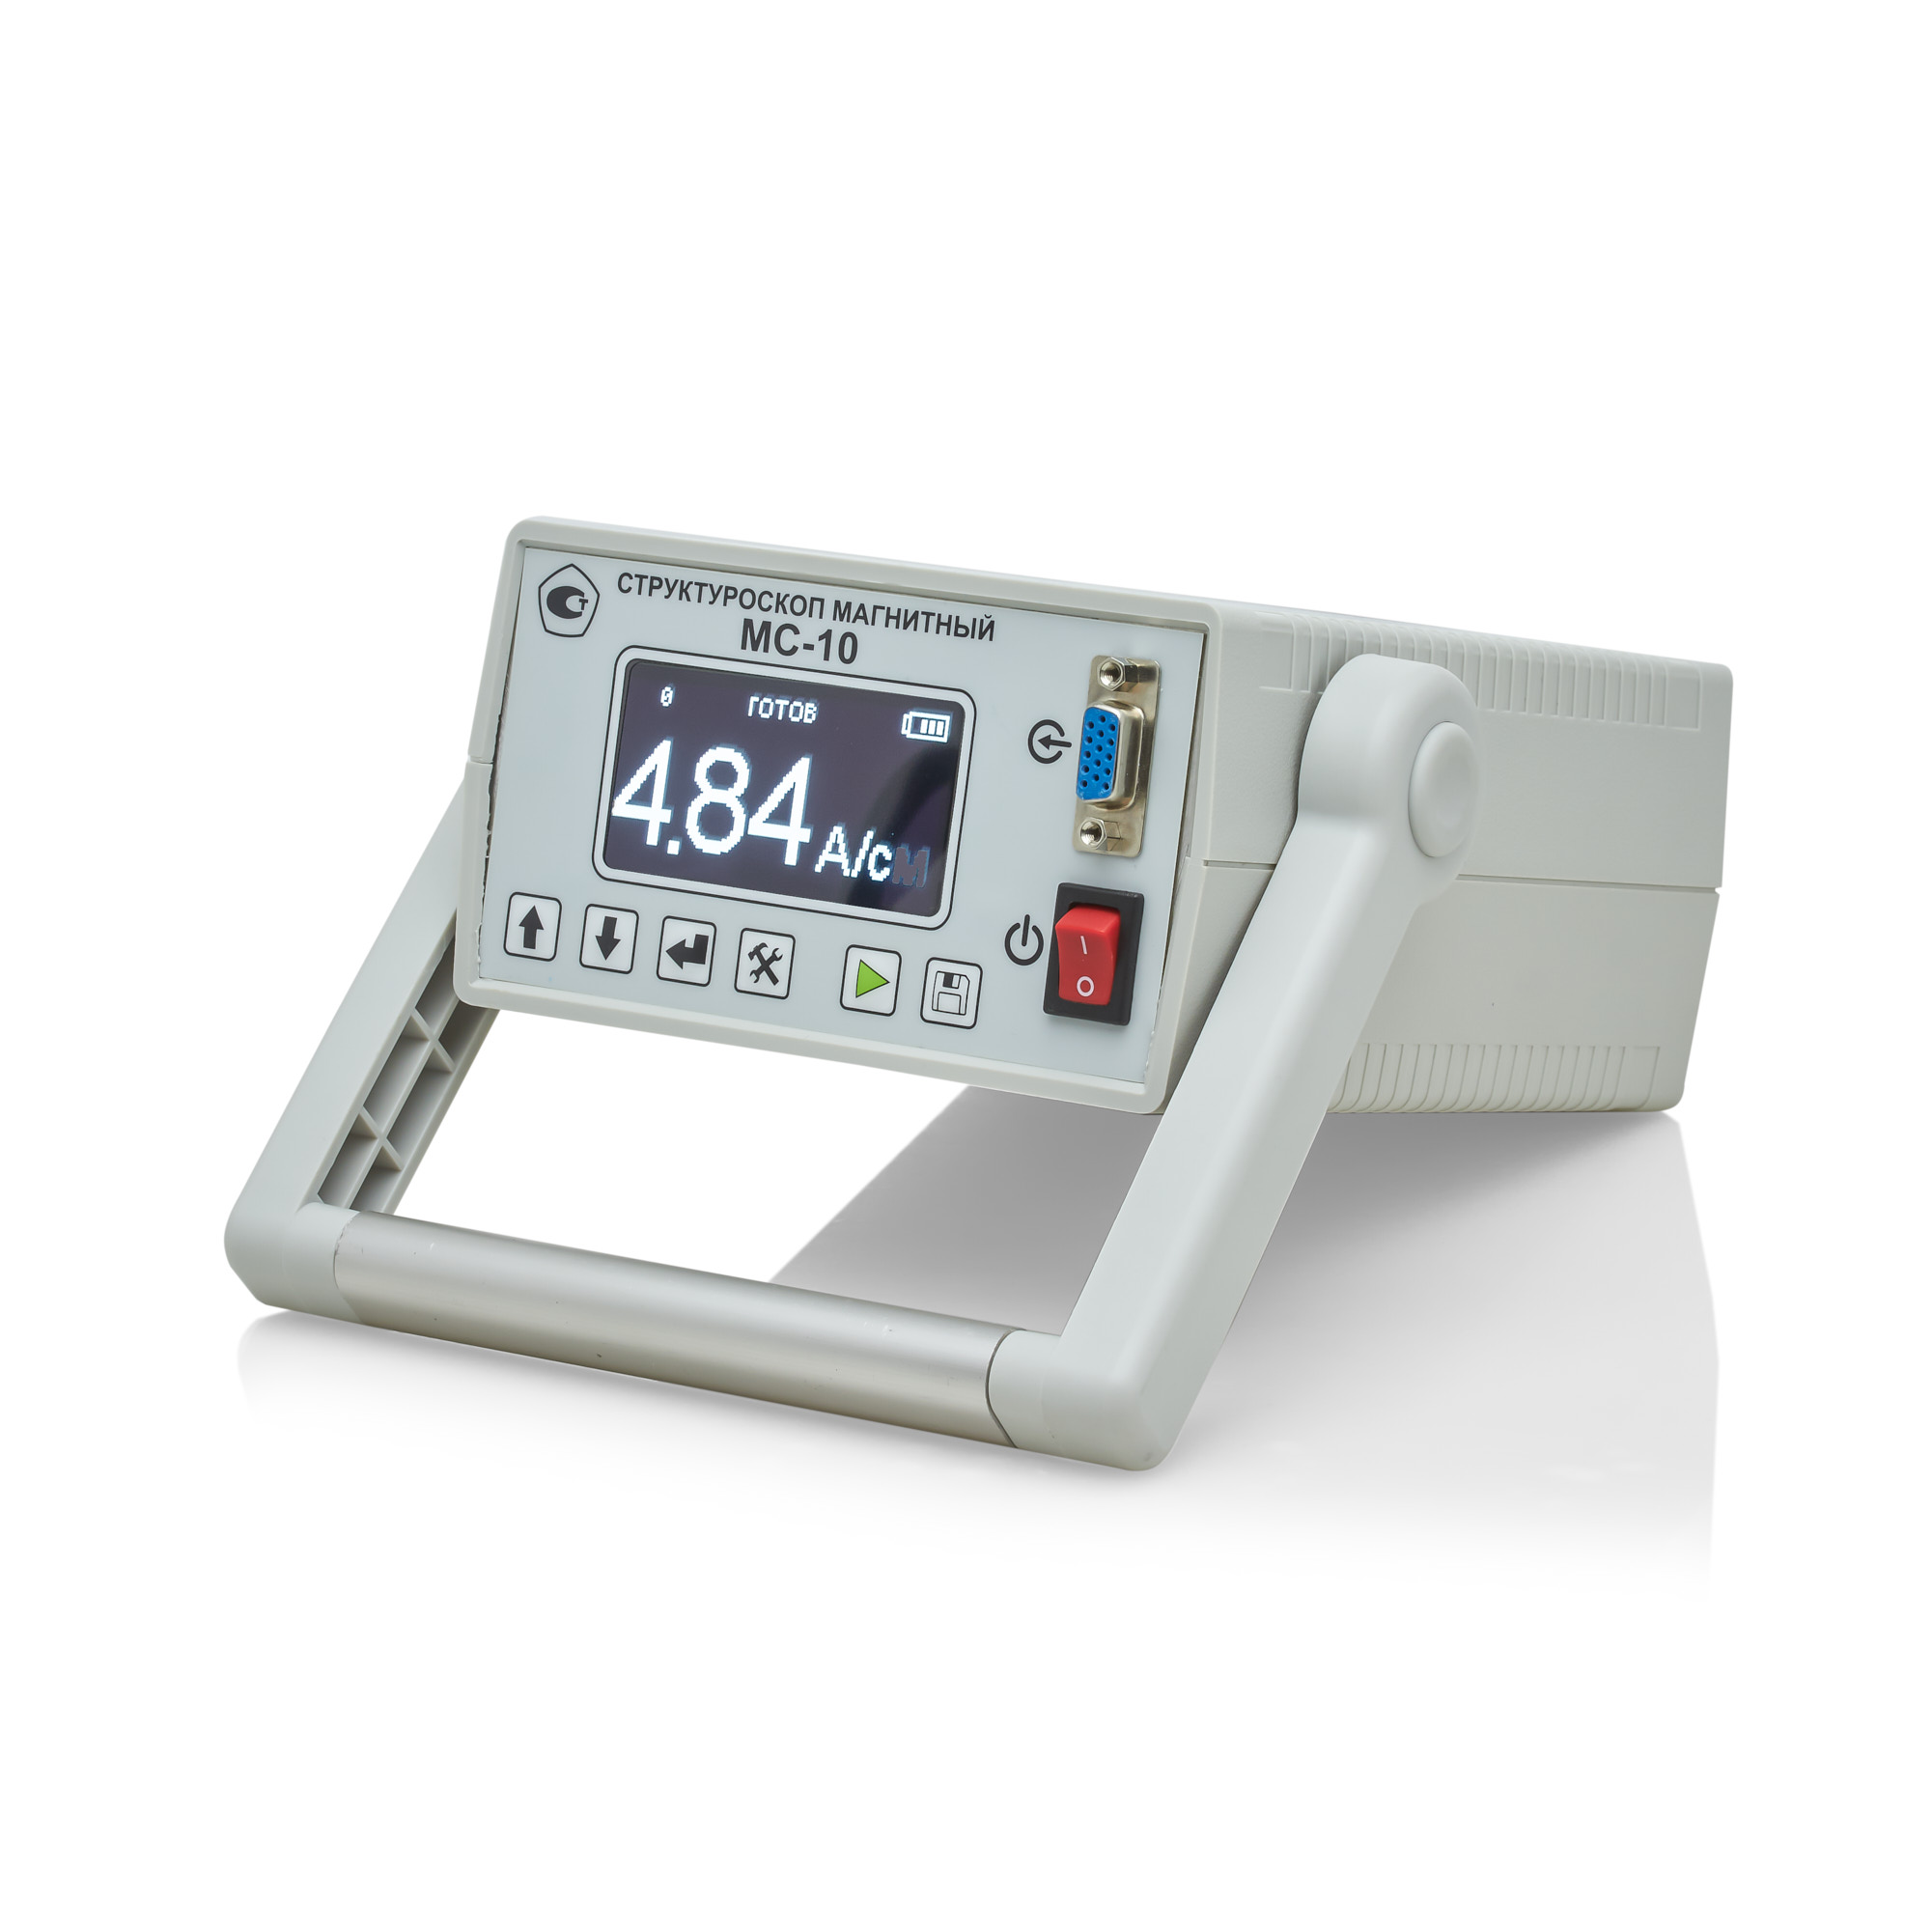
MS-10 Magnetic Structuroscope
from
270 000 ₽
Distinctive features:
- Non-destructive testing of strength, plasticity and viscosity of parts and structures made of ferromagnetic steels and cast iron according to the following standards: GOST 30415-96, OST 14-1-184-65, TU-14-1016-74
- Non-destructive testing of the depth and hardness of surface-hardened layers on steel and cast iron parts;
- Quality control of low-temperature tempering of cutting and measuring tools, bearing steels;
- Control of uniaxial elastic stresses;
- Control of the uniformity of the properties of massive parts.
Technical specifications:
The range of coercive force of the material of the controlled products, A/cm, is 1.0...60.
The limit of the permissible basic absolute error of measurements of the coercive force (Ns) on standard samples at a normal ambient temperature of 20 ± 5°C does not exceed the values of 0.1+0.04 Ns
(Ns stands for the measured value of the coercive force of the standard sample).
This error probability is provided with a gap between the converter and the surface of the controlled product not exceeding 0.5 mm.
Basic version: The structroscope is powered by a battery.
Extended version: It is possible to work on 220V/50Hz grid.
The time of setting the operating mode after power on, min: no more than 2
Time of one measurement, sec: no more than 6
Continuous operation time (without recharging), h: at least 16
Internal memory: up to 512 series of 512 measurements each with the possibility to view the results
Operating temperature range: -20°C to +40°C;
Overall dimensions, (length x width x thickness), mm:
electronic unit: 190x140x80
converter: 135x75x100
Weight, kg:
the electronic unit with a battery: 2.3 ± 0.05
the converter: 1.3± 0.05
Basic version kit:
Ia5.173.023 Electronic unit: 1 pc.
Ia5.125.061 Converter: 1 pc.
Ia8.896.121 Control sample of coercive force (plate PN-1): 1 pc.
Ia8.896.122 Control sample of coercive force (plate PN-2): 1 pc.
Bag-case: 1 pc.
Charger: 1 pc.
Ia2.778.042 RE Operating Manual: 1 copy.
Ia2.778.042 FO Form: 1 copy.
Ia2.778.042 MP Verification instructions: 1 copy.
Extended version:
Additionally, it can be equipped with a Bluetooth® module for communication with a PC and software for receiving and processing data.
It can also be equipped with a small-sized converter.
RII MNPO SPEKTR
Moscow
Produced in: Moscow

Sorption-filtering analytical filters AFA-SI-20
Sorption analytical filters AFA-SI are used for simultaneous capture and determination of samples of aerosols and vapors of radioactive iodine, followed by measurement of the delayed sediment by radiometric devices.
Doza
Zelenograd
Produced in: Moscow
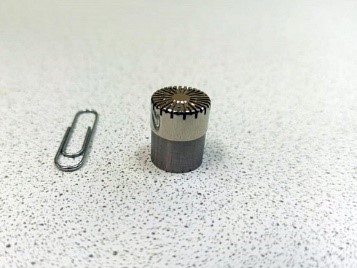
Microphone condenser capsule MK-265
It is designed to measure sound pressure in the air and is used in noise measuring equipment as a measuring transducer of infrasound, sound and ultrasonic pressure.
VIBROPRIBOR
Yaroslavl
Produced in: Yaroslavl
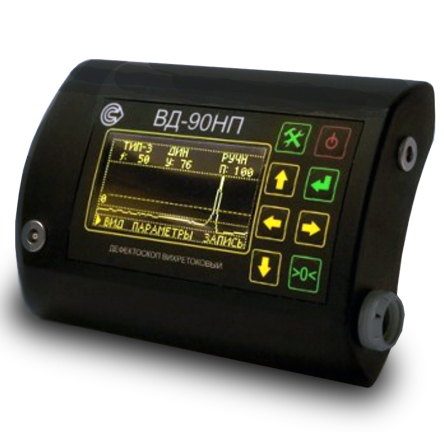
VD-90NP Eddy current flaw detector in the basic configuration
from
295 000 ₽
The principle of operation of the device:
The principle of operation of the flaw detector is based on the excitation of eddy currents in the controlled product and the subsequent release of a signal at the output of the converter, the amplitude and phase of which are determined by the secondary field of eddy currents.
Design features and advantages of the VD-90NP flaw detector.
The device has a small-sized case, which ensures its lightness, ergonomics and allows you to mount it on your belt or on your arm. The measurement is performed using a remote converter connected by a flexible cable. There are several types of converters for eddy current flaw detection of products made of different materials and different geometries. The large and bright display displays the selected operating modes and measurement results in text and graphic form. The VD-90NP is also characterized by:
high sensitivity (it detects cracks starting from 0.1 mm in size);
dust–and-moisture-proof housing, which makes it applicable for work in the field;
large operating frequency range;
maximum working clearance up to 10mm;
Bluetooth connection;
the ability to control products with high surface roughness, up to Rz320 class;
light and sound indication of defect detection;
wide operating temperature range from –30°C to +50°C;
autonomous low-voltage power supply;
long continuous operation time from one set of batteries;
compliance with the standard GOST R ISO 15549-2009 (ISO 15549:2008).
The use of a microprocessor-based hardware and software platform provide it with the following operational characteristics:
automatic adjustment when measuring conditions change, including compensating the influence of the gap;
built-in calibration modes;
saving the measurement results in the internal memory of the device;
a large number of stored programs: sets of parameters and measurement modes, both preset and saved by the user so as to repeatedly monitor the same type of products;
The Bluetooth 2.0 wireless communication module allows the device to be used in conjunction with an external laptop or mobile device for remote control, transmission of measurement results for further storage, printing, documentation and analysis.
Scope of application:
The eddy current method is suitable for non-destructive testing and detection of microcracks in products and parts made of any metals and alloys of complex shape, with high surface roughness, through non-conductive coatings, as well as for checking welded joints. The flaw detector can be used to control parts and assemblies of aviation equipment.
The VD-90NP eddy current flaw detector is used for quality control and preventive examination of:
- components and parts of rolling stock at railway transport enterprises: wheel sets, auto coupler housings, side frames, spring beams, labyrinth rings, pulleys;
- pipes, profiles, rods at rolling mills at the output control, and at the input control of consumers of products;
- products made of aluminum and titanium alloys with multilayer coatings at enterprises of the aviation and aerospace industry;
- cables, beams, critical components of equipment (cranes, lifts) in construction;
- main pipelines in order to detect stress corrosion.
A wide range of operating temperatures, dust and moisture protection (IP54 degree of protection), autonomous low-voltage power supply, a long time of continuous operation of the device allows it to be used in the field at low temperatures and under precipitation (rain, snow).
Basic kit:
• 1 electronic unit for the VD-90NP eddy current flaw detector;
• 1 Ia5.125.052 (Type-2) eddy current converter;
• 1 converter cable;
• 1 charger with batteries;
• 1 hand strap;
• 1 Ia8.896.104 sample with artificial defects;
• 1 Ia8.896.035 coating sample;
• 1 storage and carrying case;
• 1 documentation set.
RII MNPO SPEKTR
Moscow
Produced in: Moscow
Leak Detector of Combustible Gases and Freons TGP-11
NPP Elektronstandart
Saint Petersburg
Produced in: Saint Petersburg
