Catalog
Search
619 products
View:
- Selected: 1Areas of use
- Selected: 0Item names
- Selected: 0Manufacturer
- Selected: 0Made in
- Selected: 0Additional
View:
619 products
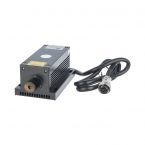
Blue DPSS Laser 405 nm KLM-405-x
DPSS lasers of the KLM-405/x series are optimal sources of coherent radiation for the construction of control and automation systems, alignment and marking devices, for scientific and medical purposes.
Technical specifications
Radiation output power: up to 10W
Radiation wavelength: 405 nm
Output beam diameter: 1.5mm
Divergence of the radiation beam: 1.3 mrad
Instability of radiation power: 5%
Type of modulation: TTL or analog
Time to enter the mode: 15min
Spectral line width: 0.1nm
FTI-Optronik
Saint Petersburg
Produced in: Saint Petersburg
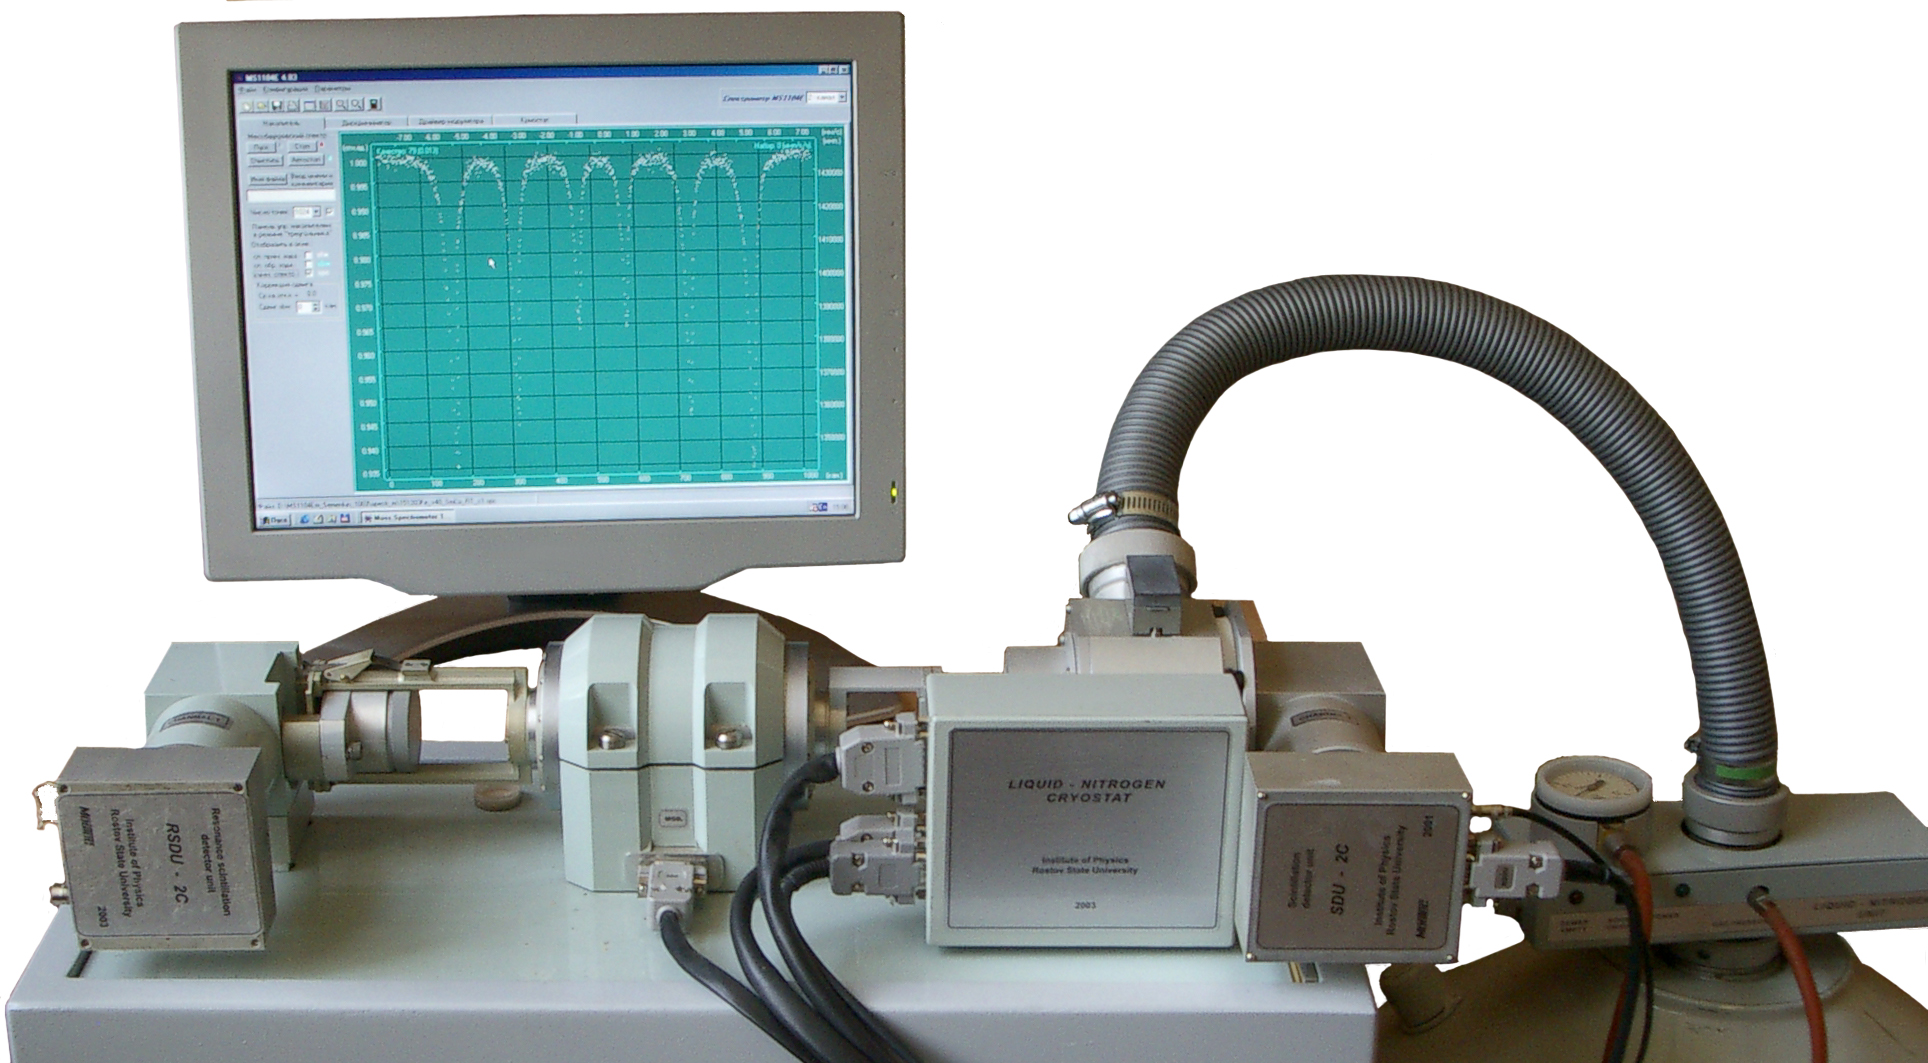
Express Mössbauer spectrometer MS1104Em
The MS-1104E spectrometer is characterized by high performance and accuracy of Mössbauer measurements achieved through the use of “compressed” geometry, as well as the use of highly efficient and selective resonant scintillation detection units that improve the energy resolution of resonance absorption lines by up to 30%. The technique of software and hardware stabilization of the spectrometric path developed and used in the spectrometer allows for long-term Mossbauer measurements without manual adjustment. The method of modulation in the specified speed intervals can significantly increase the sensitivity and expressiveness of measurements and reduce the time to determine the magnitude of the effects of resonant absorption by tens of times in the study of temperature phase transitions with a low concentration of resonant elements.
The electronic components of the spectrometer are developed on the basis of a modern element base using programmable logic matrices and microprocessors. Adjustable spectrometric paths and high-voltage power supplies of the PMU are integrated into detection units, modulator driver modules and multi-channel storage are made in the ISA standard and are located in the processor unit of the computer. Setting and monitoring of all parameters of the spectrometer and processing of the measured spectra is carried out from the operating windows of the control and processing programs.
Since 2000, more than ten spectrometers of this type have been supplied to leading scientific organizations in Russia and neighboring countries. One of the few industrial applications of Mössbauer spectroscopy should be noted - the development and supply to the Volgodonsk NPP of certified MS-1104Em methods and spectrometer for monitoring corrosion processes in the heat exchange circuits of the VVER-1000 reactor.
Department of Analytical Instrumentation SFU
Ростов-на-Дону
Produced in: Rostov-on-Don
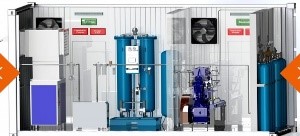
Oxygen stations for refueling cylinders
An oxygen adsorption station for refueling cylinders is a set of special equipment designed for the production and subsequent refueling of oxygen into cylinders or monoblocks obtained from atmospheric air by short—cycle non-heating adsorption. Unlike the installation, the station is equipped with an oil-free booster compressor, which creates the necessary pressure. Put the squeeze on the compressor. Provita's adsorption stations allow producing oxygen with a purity of up to 99.0%. As a rule, the filling of production gas into cylinders is carried out up to a pressure of 150-200 bar.
Composition: 1. Air compressor
2. Dehumidifier
3. Main filter block
4. Air receiver
5. Oxygen generator
6. Oxygen receiver
7. Oil-free booster compressor putting the squeeze on
8.Gas filling ramp
PROVITA
Saint Petersburg
Produced in: Saint Petersburg
Oscilloscope S1-176
It is intended for the study of periodic electrical signals by visual observation and measurement of their amplitude and time parameters on the scale of the CRT screen in the frequency band 0-50 MHz, as well as for monitoring the parameters of two- and three-pole devices using a component tester.
Technical specifications:
Number of channels 2
Bandwidth 0 - 50 MHz
Deviation coefficients of 2 mV/div - 20 V/div (step1-2-5)
Installation error ± 3%, ± 4% with a 1:10 divider
Rise time of PH <= 7 nsec
Input impedance is 1 mOhm/25 pF, with a divider of 1:10 - 10 mOhm/23 pF
Harsh operating conditions (-10°C to +40°C)
Bandwidth 0 - 50 MHz
Two channels
Indication of deviation and sweep coefficients on LED matrices
Tenfold stretching of the sweep
Calibrator 0.6 V, 1 kHz (± 1%)
X-Y mode
Built-in Component Tester
Screen 80x100 mm
Weight 6,8 kg
MNIPI
Minsk
Produced in: Belarus, Minsk

EMERGENCY DOSIMETRIC ALARM DRG‑AT2331
Detection of SCR in all possible range of its characteristics
High reliability
Self-monitoring of components
Backup power supply
Recording and storage of measurement results in the non-volatile memory of the device
The possibility of integration with external security systems
DRG-AT2331 together with SRK-AT2327, personal computer and software "SARK.NET " allows you to form an alarm system for detecting the occurrence of a self-sustaining chain reaction (SAS SCR).
Atomtekh
Minsk
Produced in: Belarus, Minsk
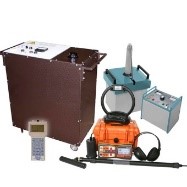
Portable Electrical Laboratory for testing and searching for cable damage by acoustic and induction method Athlete KAI-2.501
• Appointment Athlete KAI-2.501
o Search for a live cable.
o Detection of the passage of hidden communications (metal pipelines, cable lines).
o Preliminary detection of the distance to the place of damage.
o Search for places of cable damage by acoustic method.
o Search for places of cable damage by electromagnetic means.
o Cable insulation test.
o The presence of the "Friend-Foe" mode.
TEKHNO-AS
Kolomna
Produced in: Kolomna, Moscow region
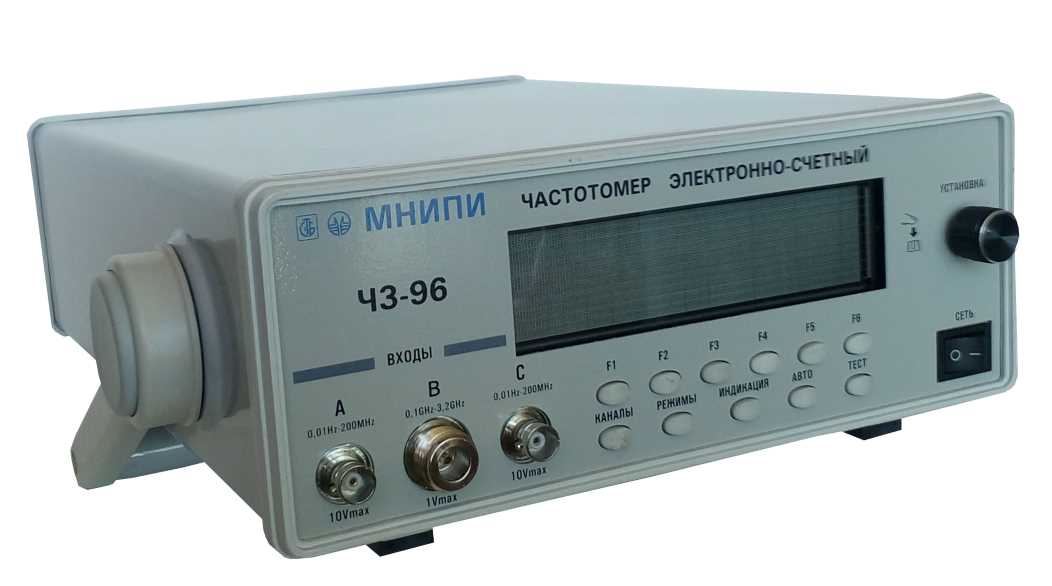
Picoammeter A2-4
System meter of small currents. The device allows to make measurements in almost the entire range of currents. The picoammeter is characterized by high performance, which is important for its use as part of automated measuring systems.
Technical specifications:
Current measuring range 1x10-14 - 1x10⁻² A
Error for the range 10-11, 10-10 ±[0.5+0.025(lk/lx-1)]%
for the range 10-9, 10-8 ±[0.25+0.01(lk/lx-1)]%
for the range 10-7, 10-6,10-5, 10-4,10-3, 10-2 ±[0,1+0,01( lk/lx-1)]%
The time of setting the readings is 2x10⁻² - 2x10⁻⁵ s
Supply voltage 230 (±20) V, frequency 50 (± 0.5) Hz
Power consumption 10 VA
Overall dimensions (HxWxD) 105x284x366 mm
Weight 3.5 kg
Operating temperature 5 - 40 °C
Humidity 80% at 25 °C
MNIPI
Minsk
Produced in: Belarus, Minsk
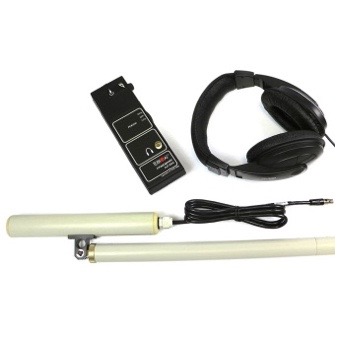
Cable Finder Success KBI-211
from
48 600 ₽
An accessible tracer without a display with an audible indication in the operator's headphones. Extremely easy to use and in a compact, lightweight case.
Purpose of the cable finder Success KBI-211
• – Search for live electrical cable lines.
• – Search for places where the pipeline and cable intersect.
• – Determination of the occurrence of underground utilities at a depth of up to 6 m.
Features of the AP-004 receiver
• – Analog traceroute receiver.
• – Audio indication in the operator's headphones, the real sound is 50 Hz.
• – Frost-resistant, working at temperatures up to -30 °C.
• – Lightweight, compact housing.
TEKHNO-AS
Kolomna
Produced in: Kolomna, Moscow region
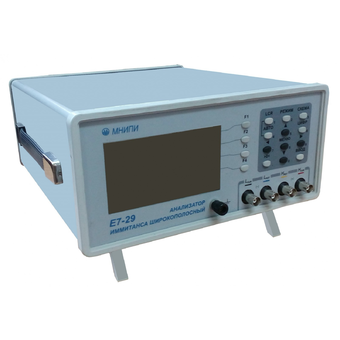
Immitance Broadband Analyzer E7-28
Technical specifications:
Extended frequency range 25 Hz–10 MHz
The basic error is ±0.1 %
The level of the measuring signal is 5 mV – 1 V S.K.z.
Offset voltage (0 – 40) V
The discreteness of the operating frequency setting is 1 Hz
Graphical analysis of measured values in a given frequency range
USB 2.0 interface
MNIPI
Minsk
Produced in: Belarus, Minsk
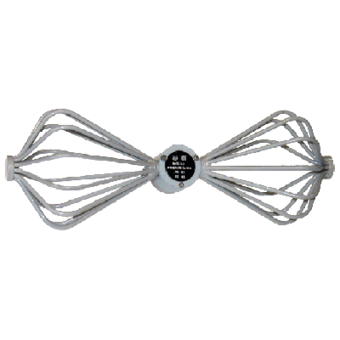
Measuring antenna P6-62
1 supp.
Technical specifications:
Frequency range (300-1000) MHz
SWR < 2
The limit of permissible error of the antenna coefficient, not more than ± 2.0 dB
Orthogonal polarization signal level -20 dB
Ambient air temperature from - 50 to + 60
Relative humidity of 95 % at + 35 ° C
Overall dimensions (HxWxD) 400x145x150 mm
Weight 1 kg
MNIPI
Minsk
Produced in: Belarus, Minsk
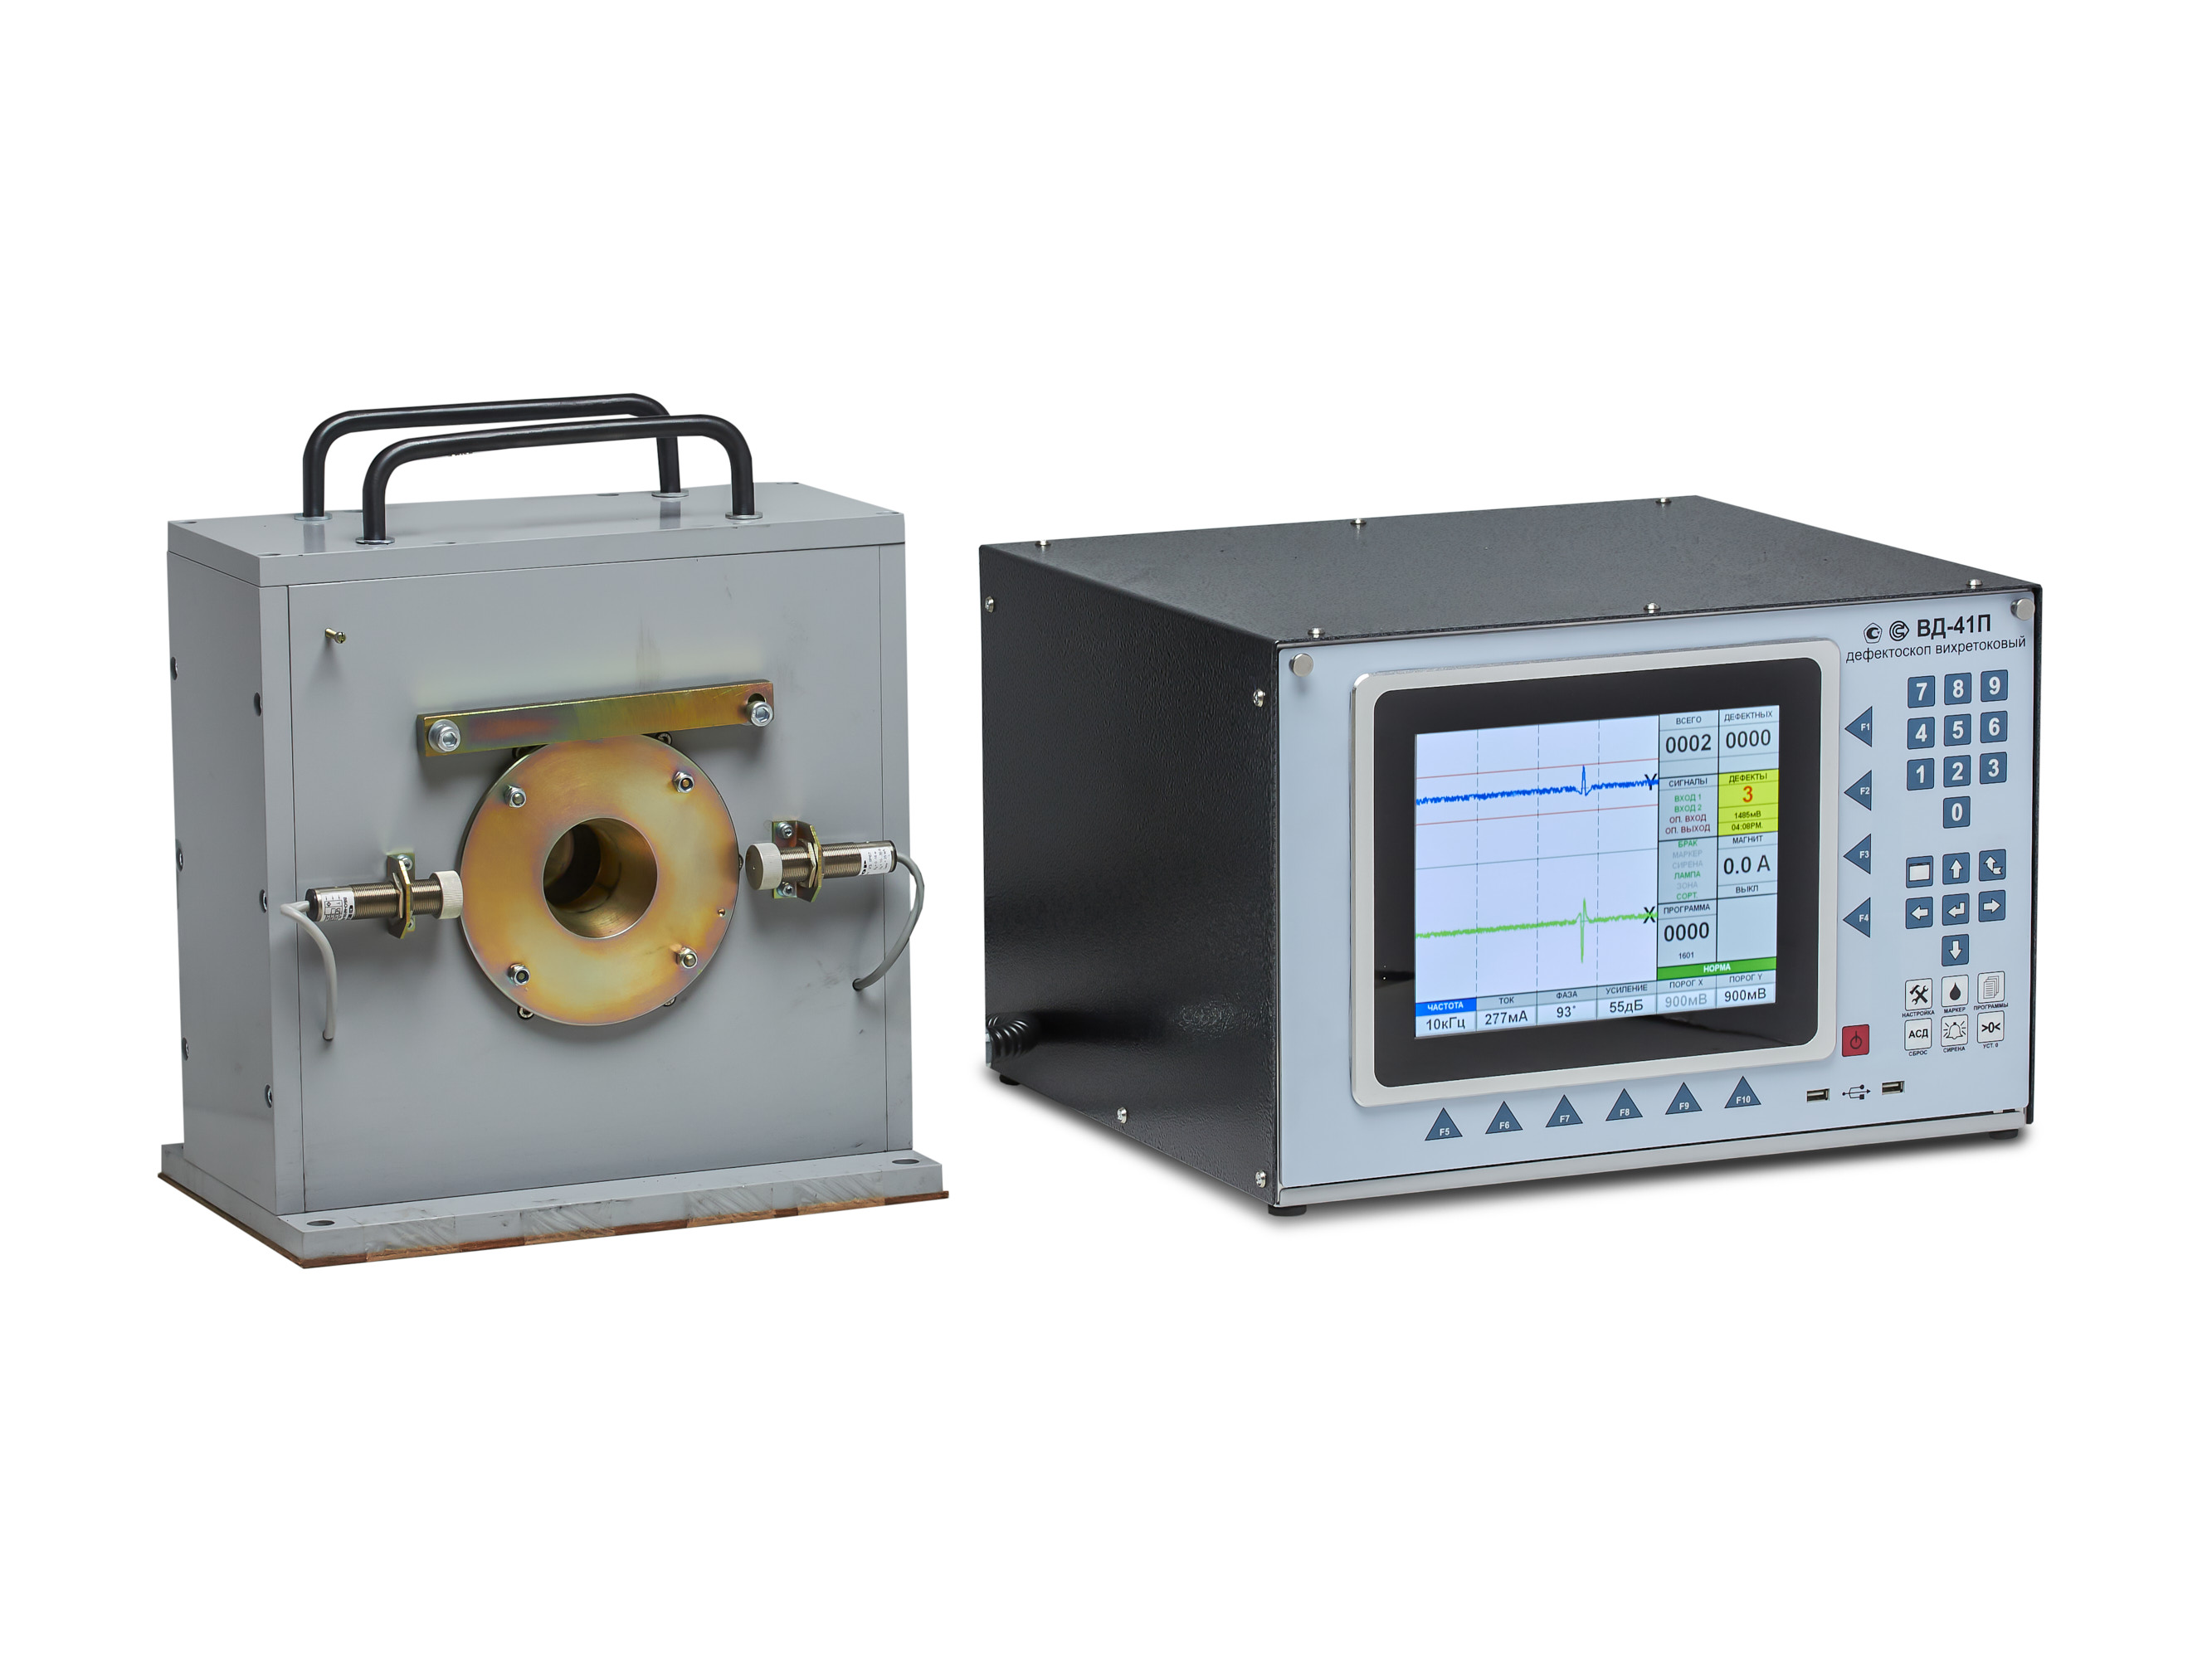
VD-41P Eddy Current Flaw Detector
Scope of application
The VD-41P eddy current flaw detector is designed to work as part of automated quality control lines at pipe-rolling and metal-rolling enterprises with continuous output control of products together with other auxiliary devices: a paint meter, a path sensor, an object presence sensor, an automatic sorter, a demagnetizer.
The device can also be used for input control at machine-building enterprises of the automotive, aviation, oil and gas, and agricultural industries.
Technical specifications:
Control frequencies: 1.0 – 100 kHz.
Control speed (line speed): 0.5 - 5 m/s.
The high-frequency filter is automatically adjustable depending on the speed.
Signal phase adjustment: 0 - 359° .
Converter current adjustment: 50 – 500mA.
Automatic monitoring of the operability of the measuring converter.
Data processing:
- Software adjustable filter.
- Signal evaluation using signal masks:
- circular mask,
- sector masks.
- Sorting by control results.
Display: 10.2” (26 cm) touch LCD (800x600).
Operating system used: WINDOWS® 7.
Dialog language: Russian, other languages (optional).
Applicable eddy current converters: overhead type, through type, sector type.
Interfaces:
- Connector for the converter unit.
- External automation control connector.
- 4 outputs with delay adjustment - "dry contact".
- 2 external information inputs.
- VGA interface for connecting an external monitor.
- USB 2.0.
- Network: Ethernet (TCP/IP).
- Other interfaces on special order.
Power supply: 220 V, 50 Hz.
Operating temperature range: 0 to +40°C.
Type of climatic performance - UHL 4 (i.e. for moderate and cold climate).
Enclosure protection degree: IP 53.
Dimensions, w/h/d: 471 x 285 x 460 mm / can be built in a 19” rack/cabinet.
Weight: approx. 20 kg.
RII MNPO SPEKTR
Moscow
Produced in: Moscow
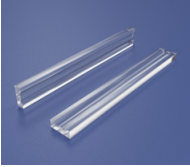
FAC286 lenses
Technical specifications
Material: S-TIH53 (Ohara)
Length, mm: 12
Height, mm: 1.0±0.02 Thickness, mm: 0.36±0.01 Refractive index, mm: 1.823
Effective focal length, mm: 0.29 Rear focal length, mm: 0.09 Transmission, %: >99.5 Power within the angle ± 2.3 mrad, %: >85
Antireflection coating, nm at one of the wavelengths from the range: 400-1500
Numerical aperture: 0.5
Surface quality λ = 633, nm: λ/4
INZHEKT
Saratov
Produced in: Saratov
