Catalog
Search
23 products
View:
- Selected: 0Areas of use
- Selected: 0Item names
- Selected: 0Manufacturer
- Selected: 0Made in
- Selected: 1Additional
View:
23 products
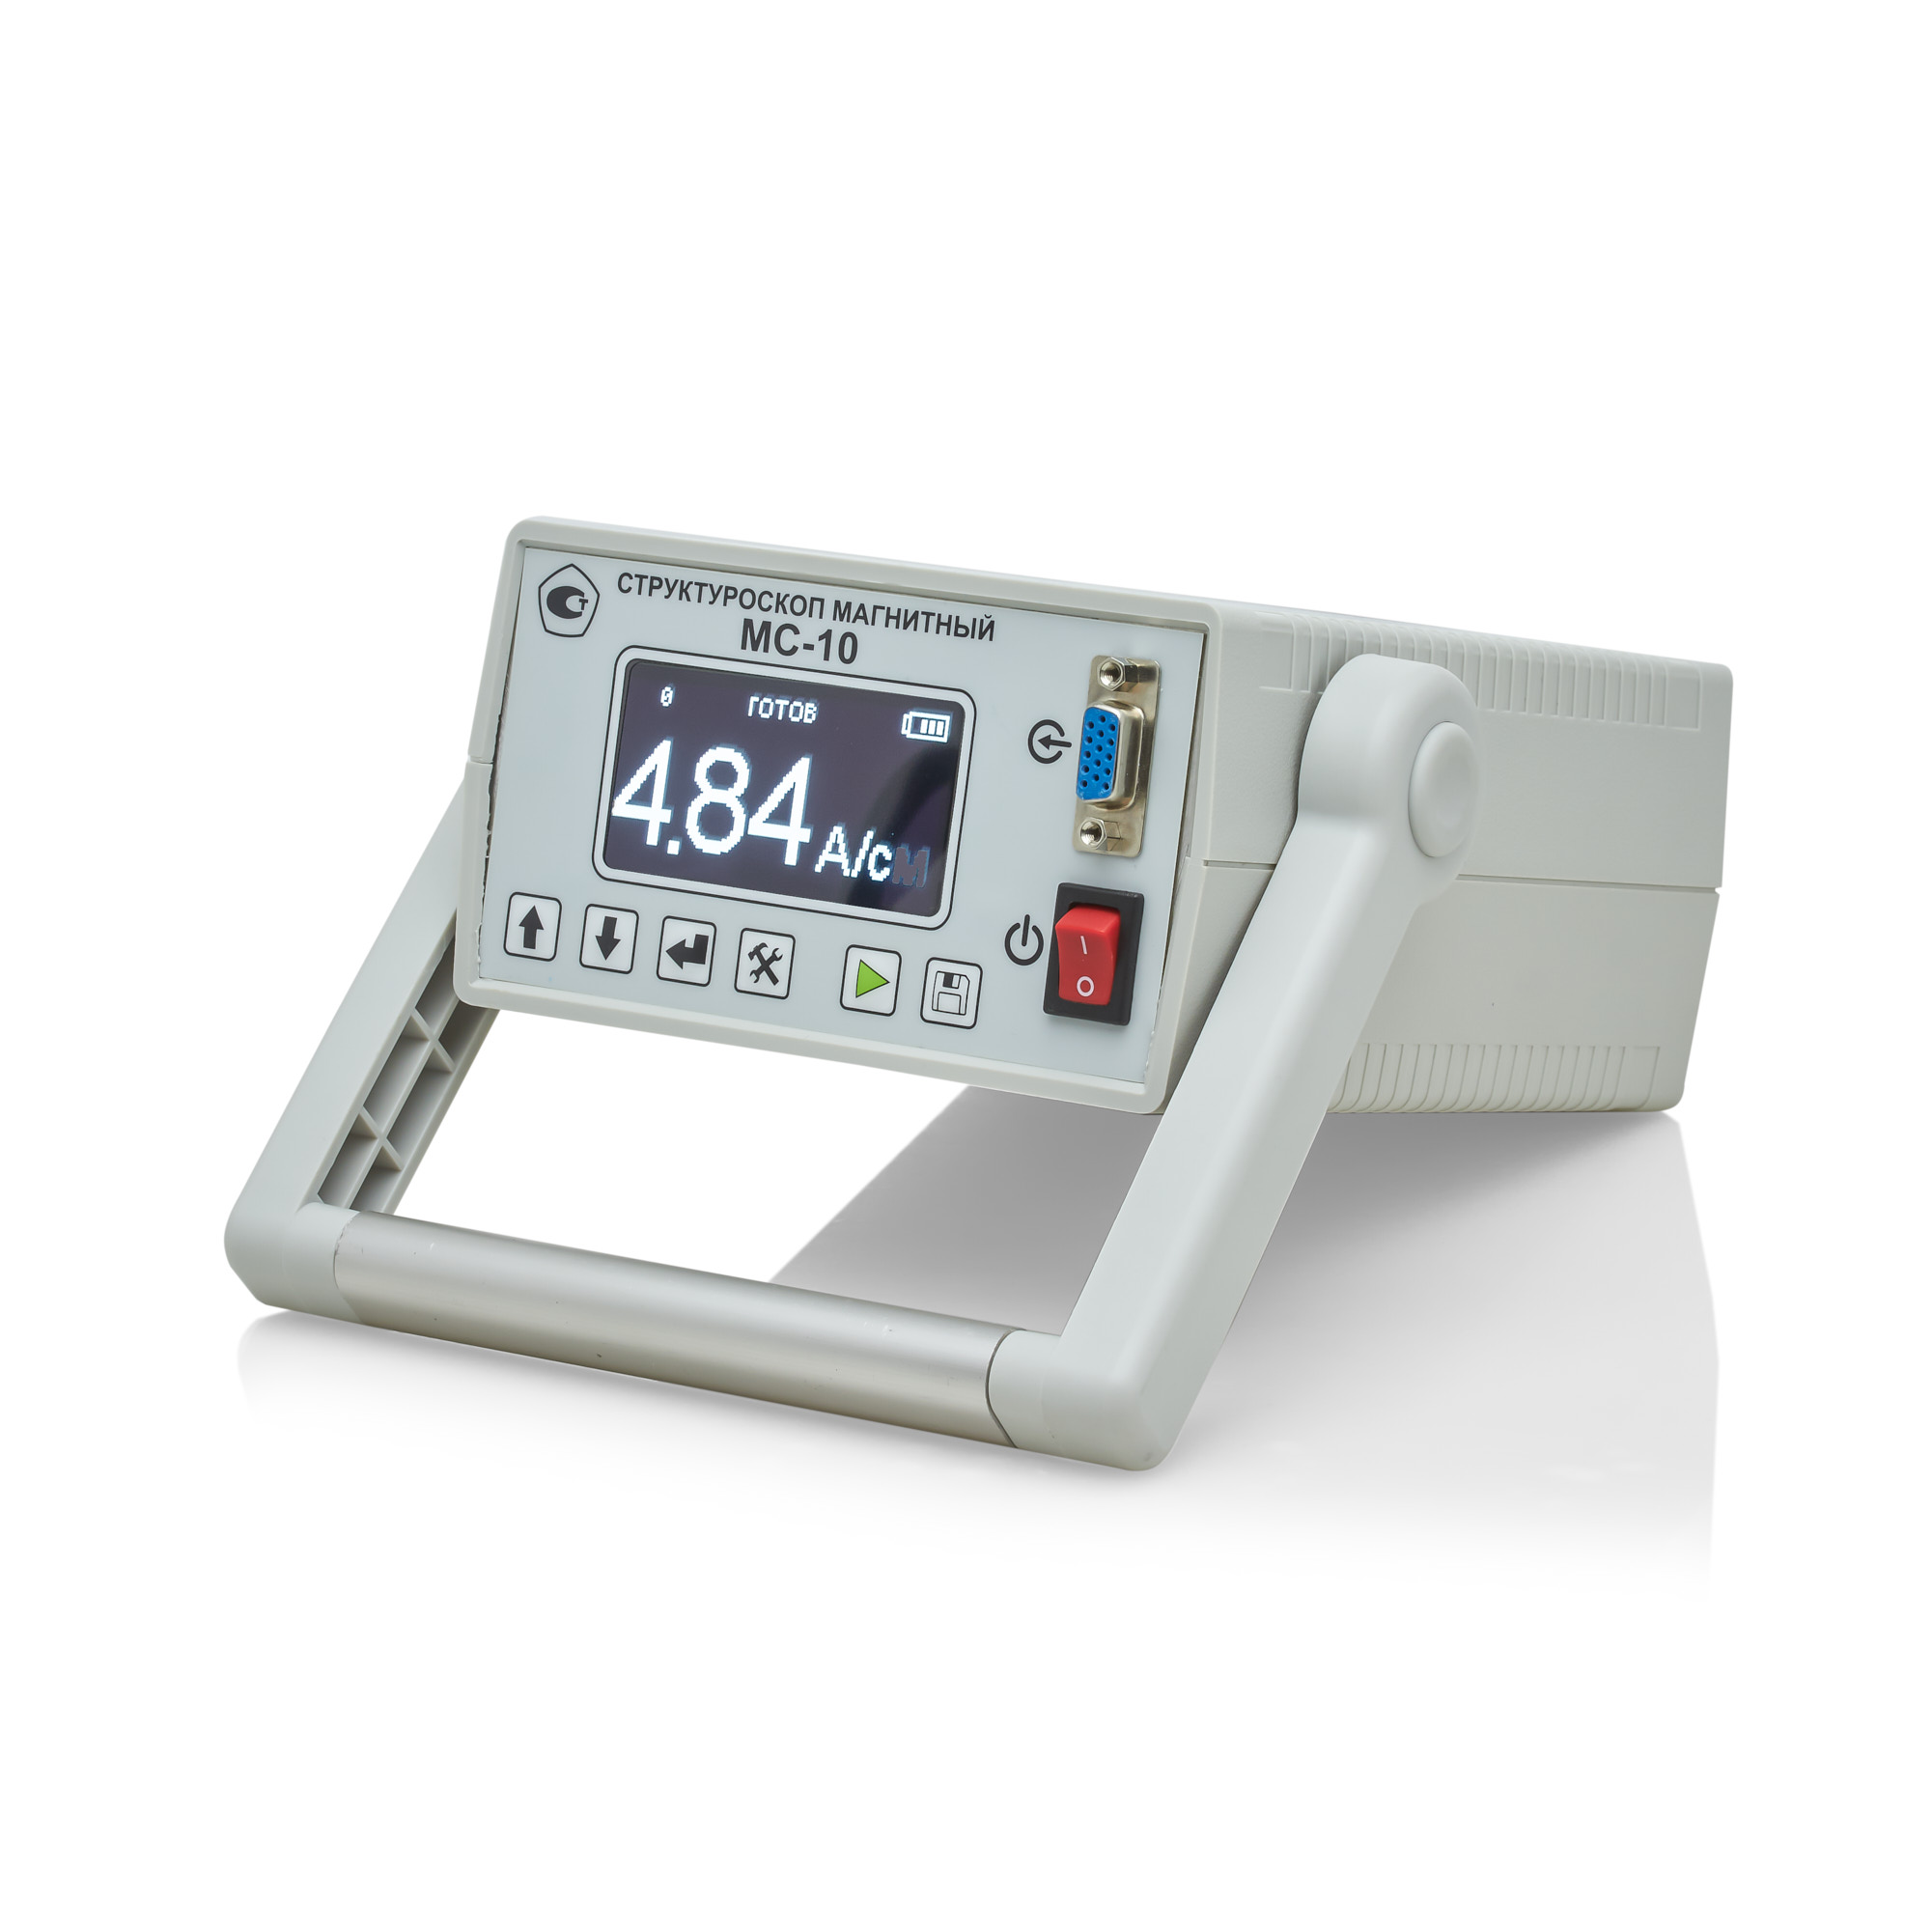
MS-10 Magnetic Structuroscope
from
310 500 ₽
Distinctive features:
- Non-destructive testing of strength, plasticity and viscosity of parts and structures made of ferromagnetic steels and cast iron according to the following standards: GOST 30415-96, OST 14-1-184-65, TU-14-1016-74
- Non-destructive testing of the depth and hardness of surface-hardened layers on steel and cast iron parts;
- Quality control of low-temperature tempering of cutting and measuring tools, bearing steels;
- Control of uniaxial elastic stresses;
- Control of the uniformity of the properties of massive parts.
Technical specifications:
The range of coercive force of the material of the controlled products, A/cm, is 1.0...60.
The limit of the permissible basic absolute error of measurements of the coercive force (Ns) on standard samples at a normal ambient temperature of 20 ± 5°C does not exceed the values of 0.1+0.04 Ns
(Ns stands for the measured value of the coercive force of the standard sample).
This error probability is provided with a gap between the converter and the surface of the controlled product not exceeding 0.5 mm.
Basic version: The structroscope is powered by a battery.
Extended version: It is possible to work on 220V/50Hz grid.
The time of setting the operating mode after power on, min: no more than 2
Time of one measurement, sec: no more than 6
Continuous operation time (without recharging), h: at least 16
Internal memory: up to 512 series of 512 measurements each with the possibility to view the results
Operating temperature range: -20°C to +40°C;
Overall dimensions, (length x width x thickness), mm:
electronic unit: 190x140x80
converter: 135x75x100
Weight, kg:
the electronic unit with a battery: 2.3 ± 0.05
the converter: 1.3± 0.05
Basic version kit:
Ia5.173.023 Electronic unit: 1 pc.
Ia5.125.061 Converter: 1 pc.
Ia8.896.121 Control sample of coercive force (plate PN-1): 1 pc.
Ia8.896.122 Control sample of coercive force (plate PN-2): 1 pc.
Bag-case: 1 pc.
Charger: 1 pc.
Ia2.778.042 RE Operating Manual: 1 copy.
Ia2.778.042 FO Form: 1 copy.
Ia2.778.042 MP Verification instructions: 1 copy.
Extended version:
Additionally, it can be equipped with a Bluetooth® module for communication with a PC and software for receiving and processing data.
It can also be equipped with a small-sized converter.
RII MNPO SPEKTR
Moscow
Produced in: Moscow
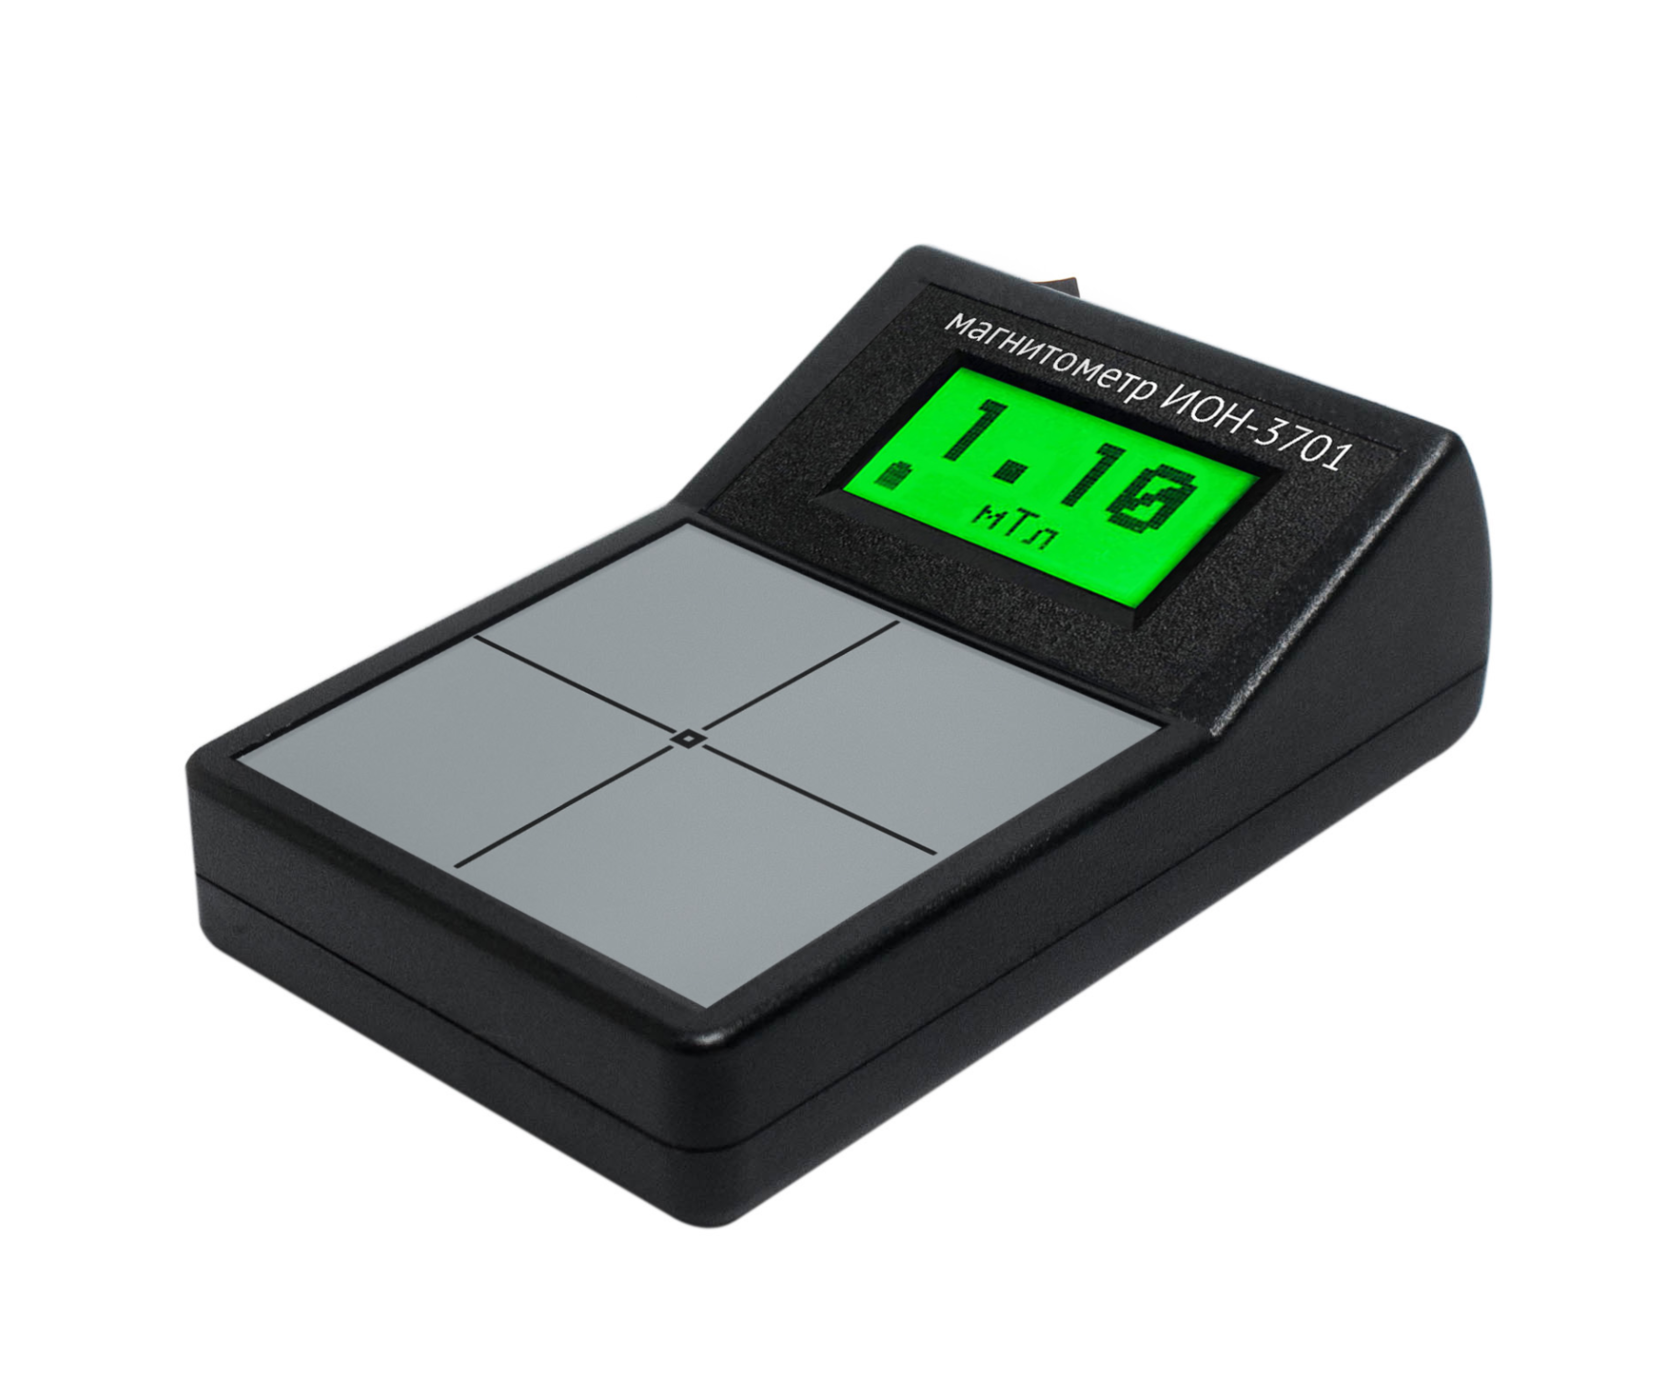
Magnetometer - Measuring Residual Magnetization ION-3701 Conveyor
It is a modern high-precision device (a variant of the ION-3701 device) and used for a wide range of tasks in areas where it is necessary to determine the magnitude of the magnetic field and residual magnetization in shop conditions, on the conveyor, during acceptance and inspection of parts and workpieces. It is equipped with a three-dimensional magnetic field sensor and has outstanding technical characteristics and extensive functionality.
NPP "ELEKTRONNYE PRIBORY"
Naberezhnye Chelny
Produced in: Tatarstan, Naberezhnye Chelny
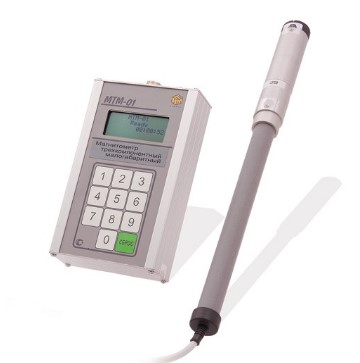
MTM-01 Three-component small-sized magnetometer - constant magnetic field meter
from
111 500 ₽
The measuring converter of the Earth's magnetic field is made on the basis of magnetoresistive sensors that simultaneously measure the orthogonal components of the magnetic field strength at the control point and the modulus of the intensity vector. At the same time, the magnetometer readings do not depend on the orientation of the measuring transducer in space.
The MTM-01 magnetometer is also an effective means of measuring the quality of magnetic protections and screens to ensure the standards of electromagnetic safety of workers and the public during the operation of distribution transformers and electric power plants.
NMT-ZASHCHITA
Moscow
Produced in: Moscow
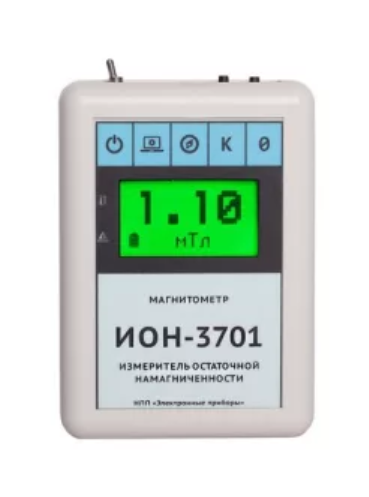
Magnetometer - Residual magnetization meter ION-3701
from
57 245 ₽
The small-sized digital magnetometer (Gaussmeter, teslameter), ION-3701 residual magnetization meter is a modern high-precision instrument, a further development of ION series devices (ION-1, ION-2, ION-2M, ION-7) and used for a wide range of tasks in areas where it is necessary to determine the magnitude of the magnetic field and residual magnetization. It is equipped with a three-dimensional magnetic field sensor and has outstanding technical characteristics and extensive functionality.
NPP "ELEKTRONNYE PRIBORY"
Naberezhnye Chelny
Produced in: Tatarstan, Naberezhnye Chelny
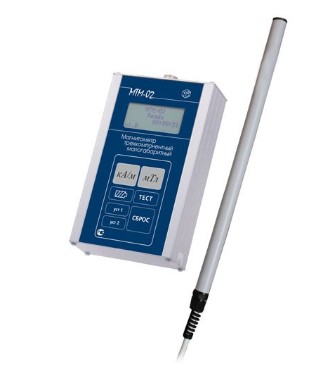
MTM-02 Three-component small-sized magnetometer - constant magnetic field meter
from
101 000 ₽
When conducting a comprehensive sanitary and hygienic inspection of premises and workplaces to ensure control over biologically hazardous levels of the magnetic field according to SanPiN 2.2.4.3359-16 "Sanitary and epidemiological requirements for physical factors in the workplace".
The MTM-02 design allows you to quickly monitor the levels of residual magnetization of surfaces and ends of products near welds.
NMT-ZASHCHITA
Moscow
Produced in: Moscow
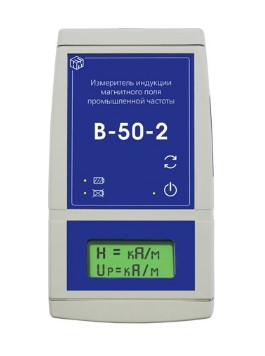
V-50-2 Industrial Frequency Magnetic Field Meter
from
77 500 ₽
It is designed to determine the induction module of the industrial frequency magnetic field created by magnetic systems and electrical devices for various purposes, power lines, power supply systems, transport and other sources.
NMT-ZASHCHITA
Moscow
Produced in: Moscow
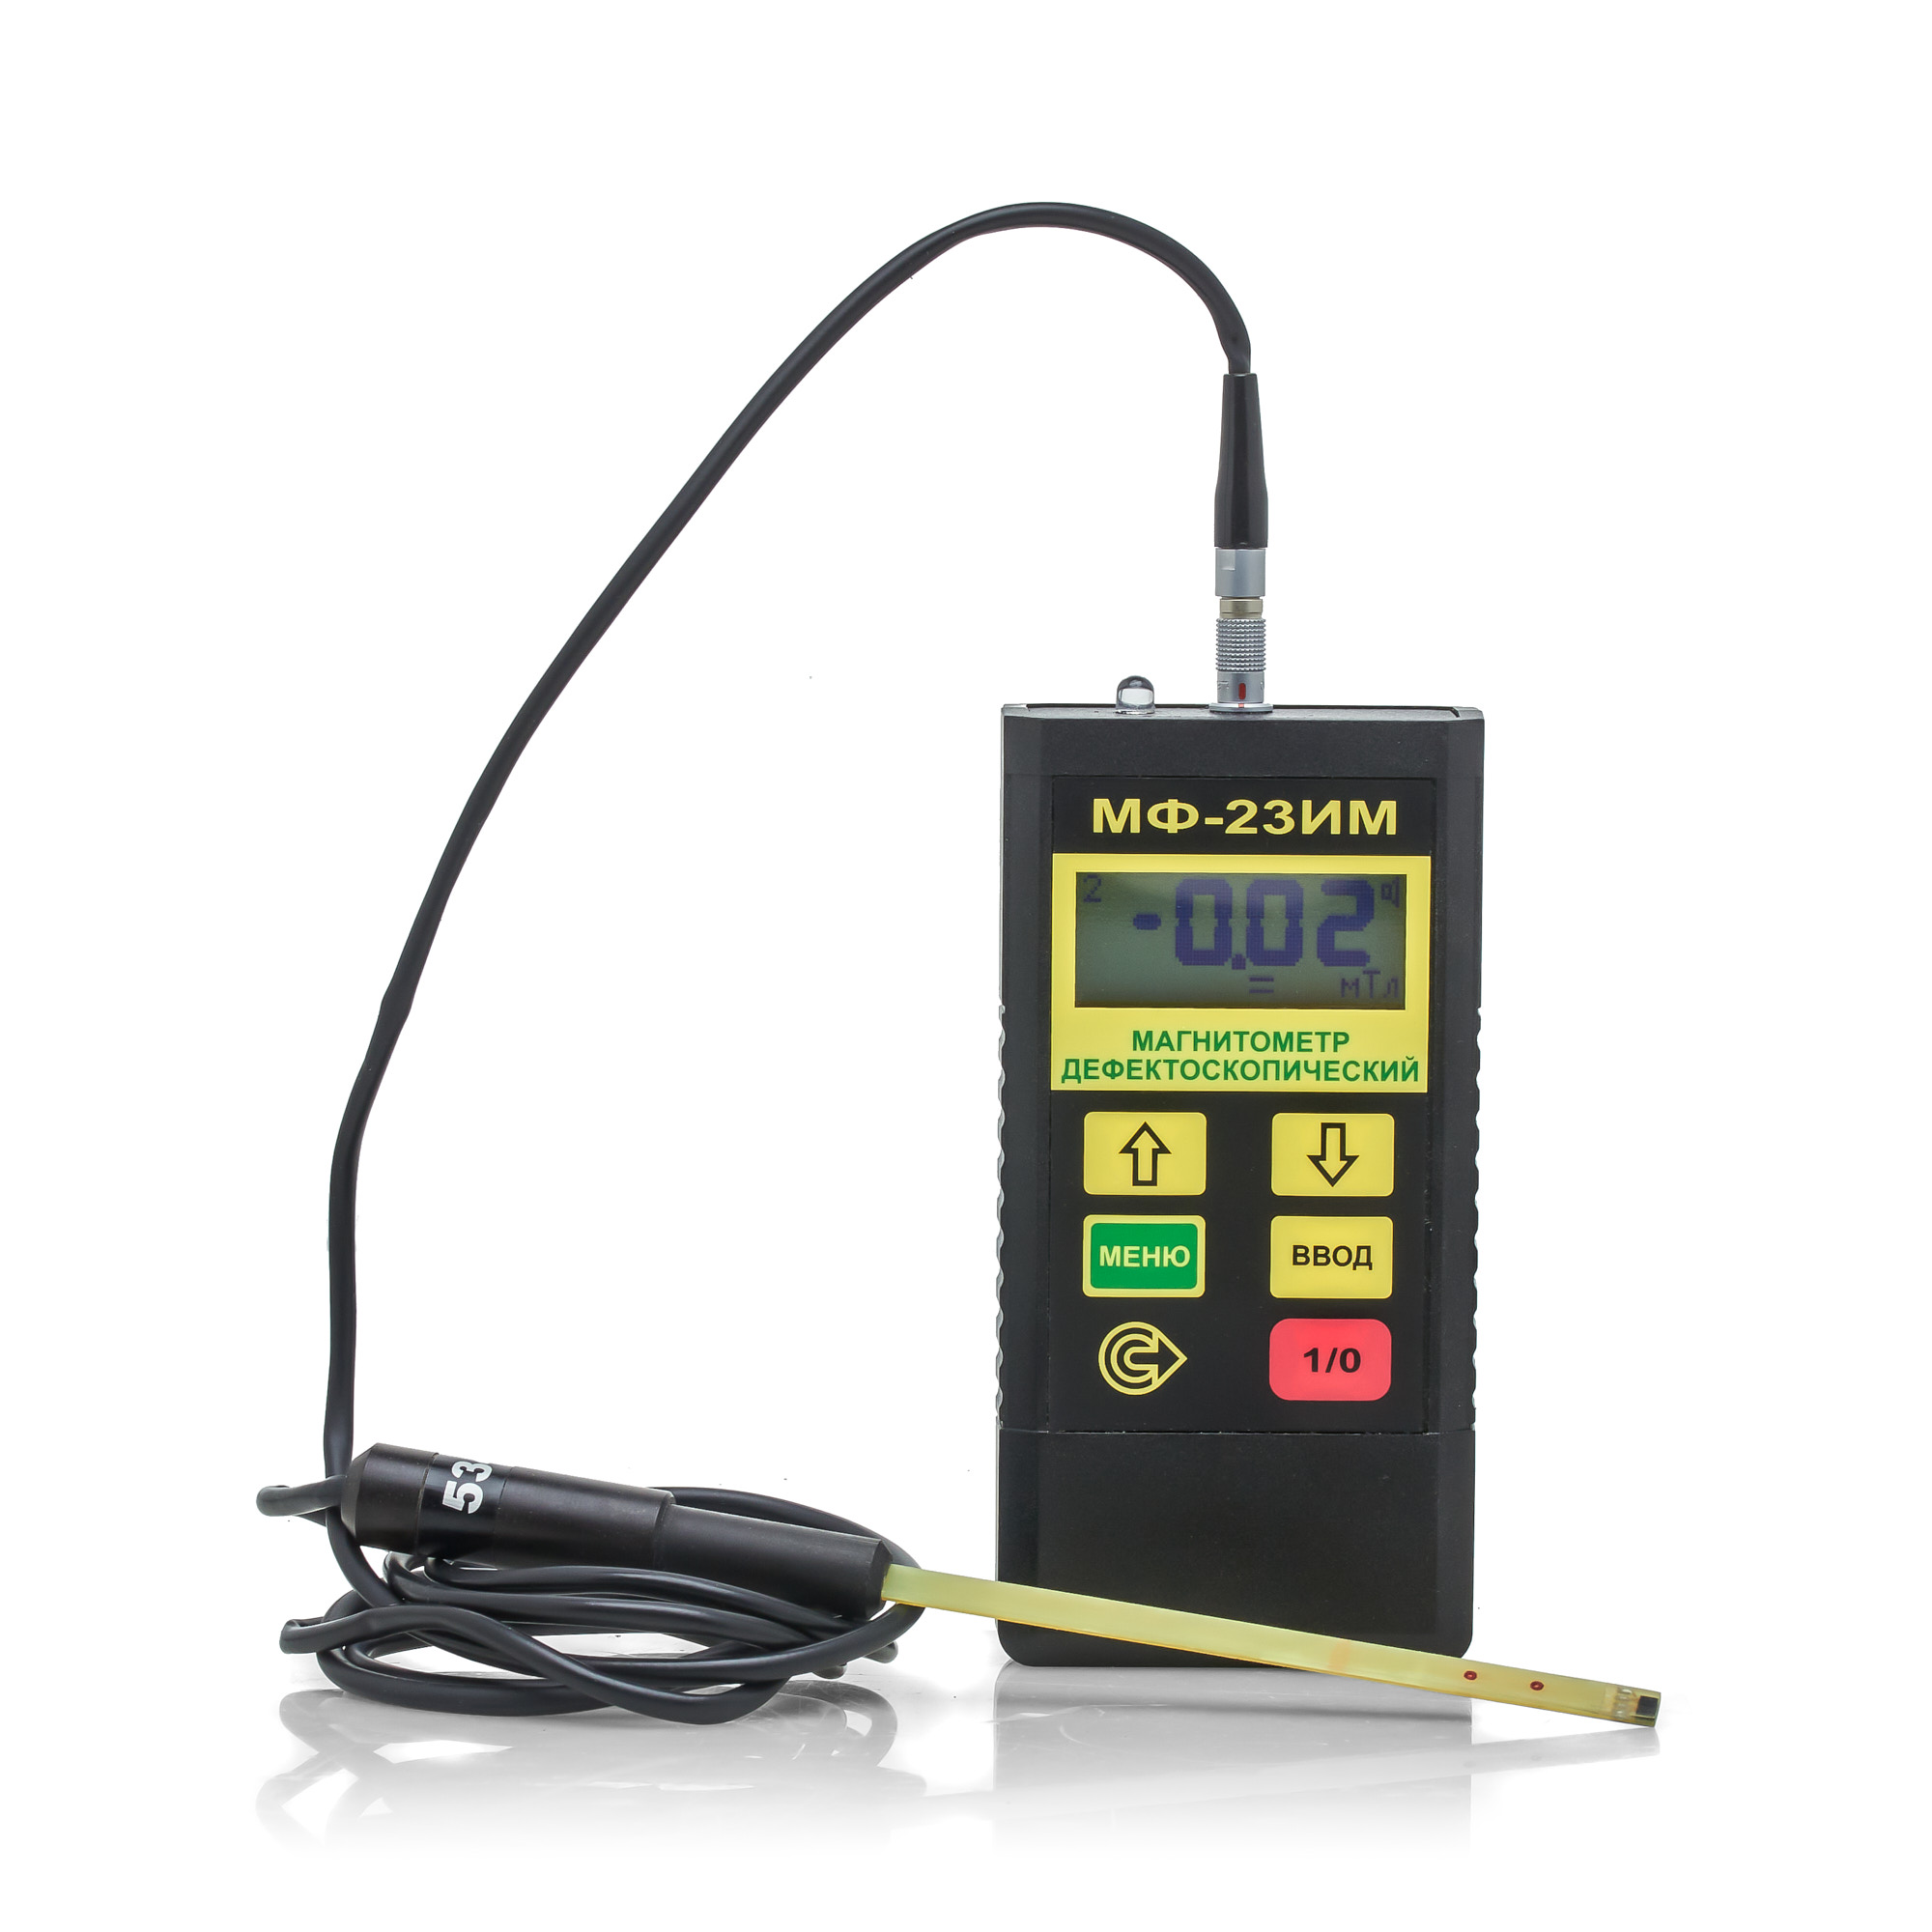
MF-23IM Flaw detection magnetometer
from
193 200 ₽
The MF-23IM flaw detection magnetometer allows you to determine the compliance of the ratio of the tangential and normal components of the magnetic field strength during magnetic particle testing using both the applied field method (AFM) and the remanent magnetization method (RMM) in accordance with the requirements of current regulatory documentation.
The MF-23IM flaw detection magnetometer meets the requirements in the field of non-destructive testing for the main industries: nuclear, energy, oil and gas complex, general and special engineering, railway transport, aerospace industry, elevator and crane facilities.
The flaw detection magnetometer is included in the State Register of Measuring Instruments (GRSI) under No. 20106-00. The magnetometer (milliteslameter) is also included in the register of measuring instruments, testing equipment and measurement methods used at JSC Russian Railways. The flaw detection magnetometer MF-23IM from the manufacturer is used to measure the parameters of constant, variable (industrial frequency) and pulsed magnetic fields when testing ferromagnetic products using the magnetic particle method, as well as to control the level of industrial interference. Specifications.
Magnetic field induction (strength) measurement range: - constant and variable (amplitude and average values) 0.5…1000 mT (4…8000 A/cm) - pulsed (amplitude value) 2…1000 mT (18…8000 A/cm) Indication of measurement results digital or digital + graphic Indicator liquid crystal display Power supply from 1 PP3 battery Current consumption, mA, no more than 15 Memory capacity for storing results 4080 Communication with a computer via infrared channel Dimensions of the electronic unit, mm, no more than 120x60x25 Weight of the electronic unit with battery, g 150
The minimum dimensions of the Hall transducer for the MF-23IM magnetometer make it possible to measure the induction and magnetic field strength in grooves, grooves, corner transitions, i.e. in those areas of the controlled product that are stress concentrators and the most dangerous from the point of view of crack formation; · Measurement of pulsed magnetizing field with pulse duration from 0.5 ms; · Small measurement error (see technical specifications table) · Compact size and low power consumption;
· The magnetometer has 2 modes for displaying measurement results – digital and graphic). The MF-23IM magnetometer in graphical display mode allows you to detect a demagnetizing pulse by displaying its shape and amplitude on a graphic display, as a result of which changes can be made to the magnetization circuit in a timely manner. · The software of the MF-23IM magnetometer allows you to flexibly configure not only the response thresholds, but also the time base, which allows you to tune out false indications caused by reverse emissions of the magnetic field or electromagnetic interference from operating power equipment (magnetizing devices or magnetic particle flaw detectors).
· Determination of the effective magnetization region, within which the tangential component of the magnetic field strength is sufficient for magnetic particle testing, and the ratio of the normal and tangential components of the magnetic field strength is less than or equal to 3. · Checking the mode of magnetization/demagnetization of test objects for compliance with the methodology/technological instructions for magnetic particle testing for a given object.
BASIC SET: Electronic unit Converter 1 Converter 2 Caliber PP3 battery CD with program Case Flaw detection magnetometer MF-23IM. Passport
RII MNPO SPEKTR
Moscow
Produced in: Moscow
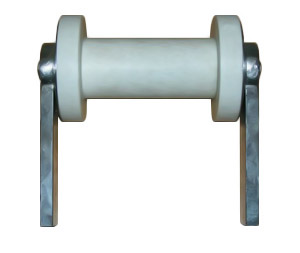
Portable kit for magnetic particle flaw detection Pole-M1
The Pole-M1 kit is used for monitoring pipelines, cranes, stanchions, beams and other ferromagnetic products, machine-building parts and workpieces for the presence of surface and subsurface defects (cracks, shells, etc.).
It is designed to work in workshop, laboratory and field conditions. A permanent magnet allows you to monitor various shaped parts, welds and various products for cracks, discontinuities, shells and similar defects by magnetizing individual controlled areas or the product as a whole.
The permanent magnet as part of the Polyus-M1 set of highly stable magnets with high maximum specific magnetic energy is designed to detect surface and subsurface defects in products made of ferromagnetic materials by magnetic powder or magneto-luminescent method and refers to portable specialized means of magnetic control.
NPP "ELEKTRONNYE PRIBORY"
Naberezhnye Chelny
Produced in: Tatarstan, Naberezhnye Chelny
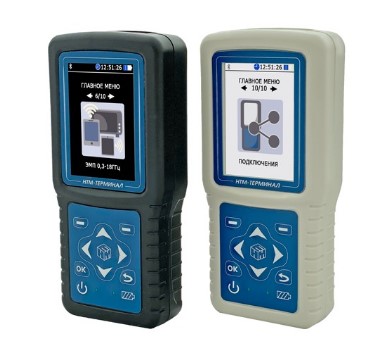
NTM-Terminal Control unit and display of measurement results
from
44 000 ₽
The NTM-Terminal block is a multifunctional device that allows you to choose:
the necessary antenna-converter,
operating mode,
measurement procedure in relation to the object of examination,
recording of measurement results.
NMT-ZASHCHITA
Moscow
Produced in: Moscow
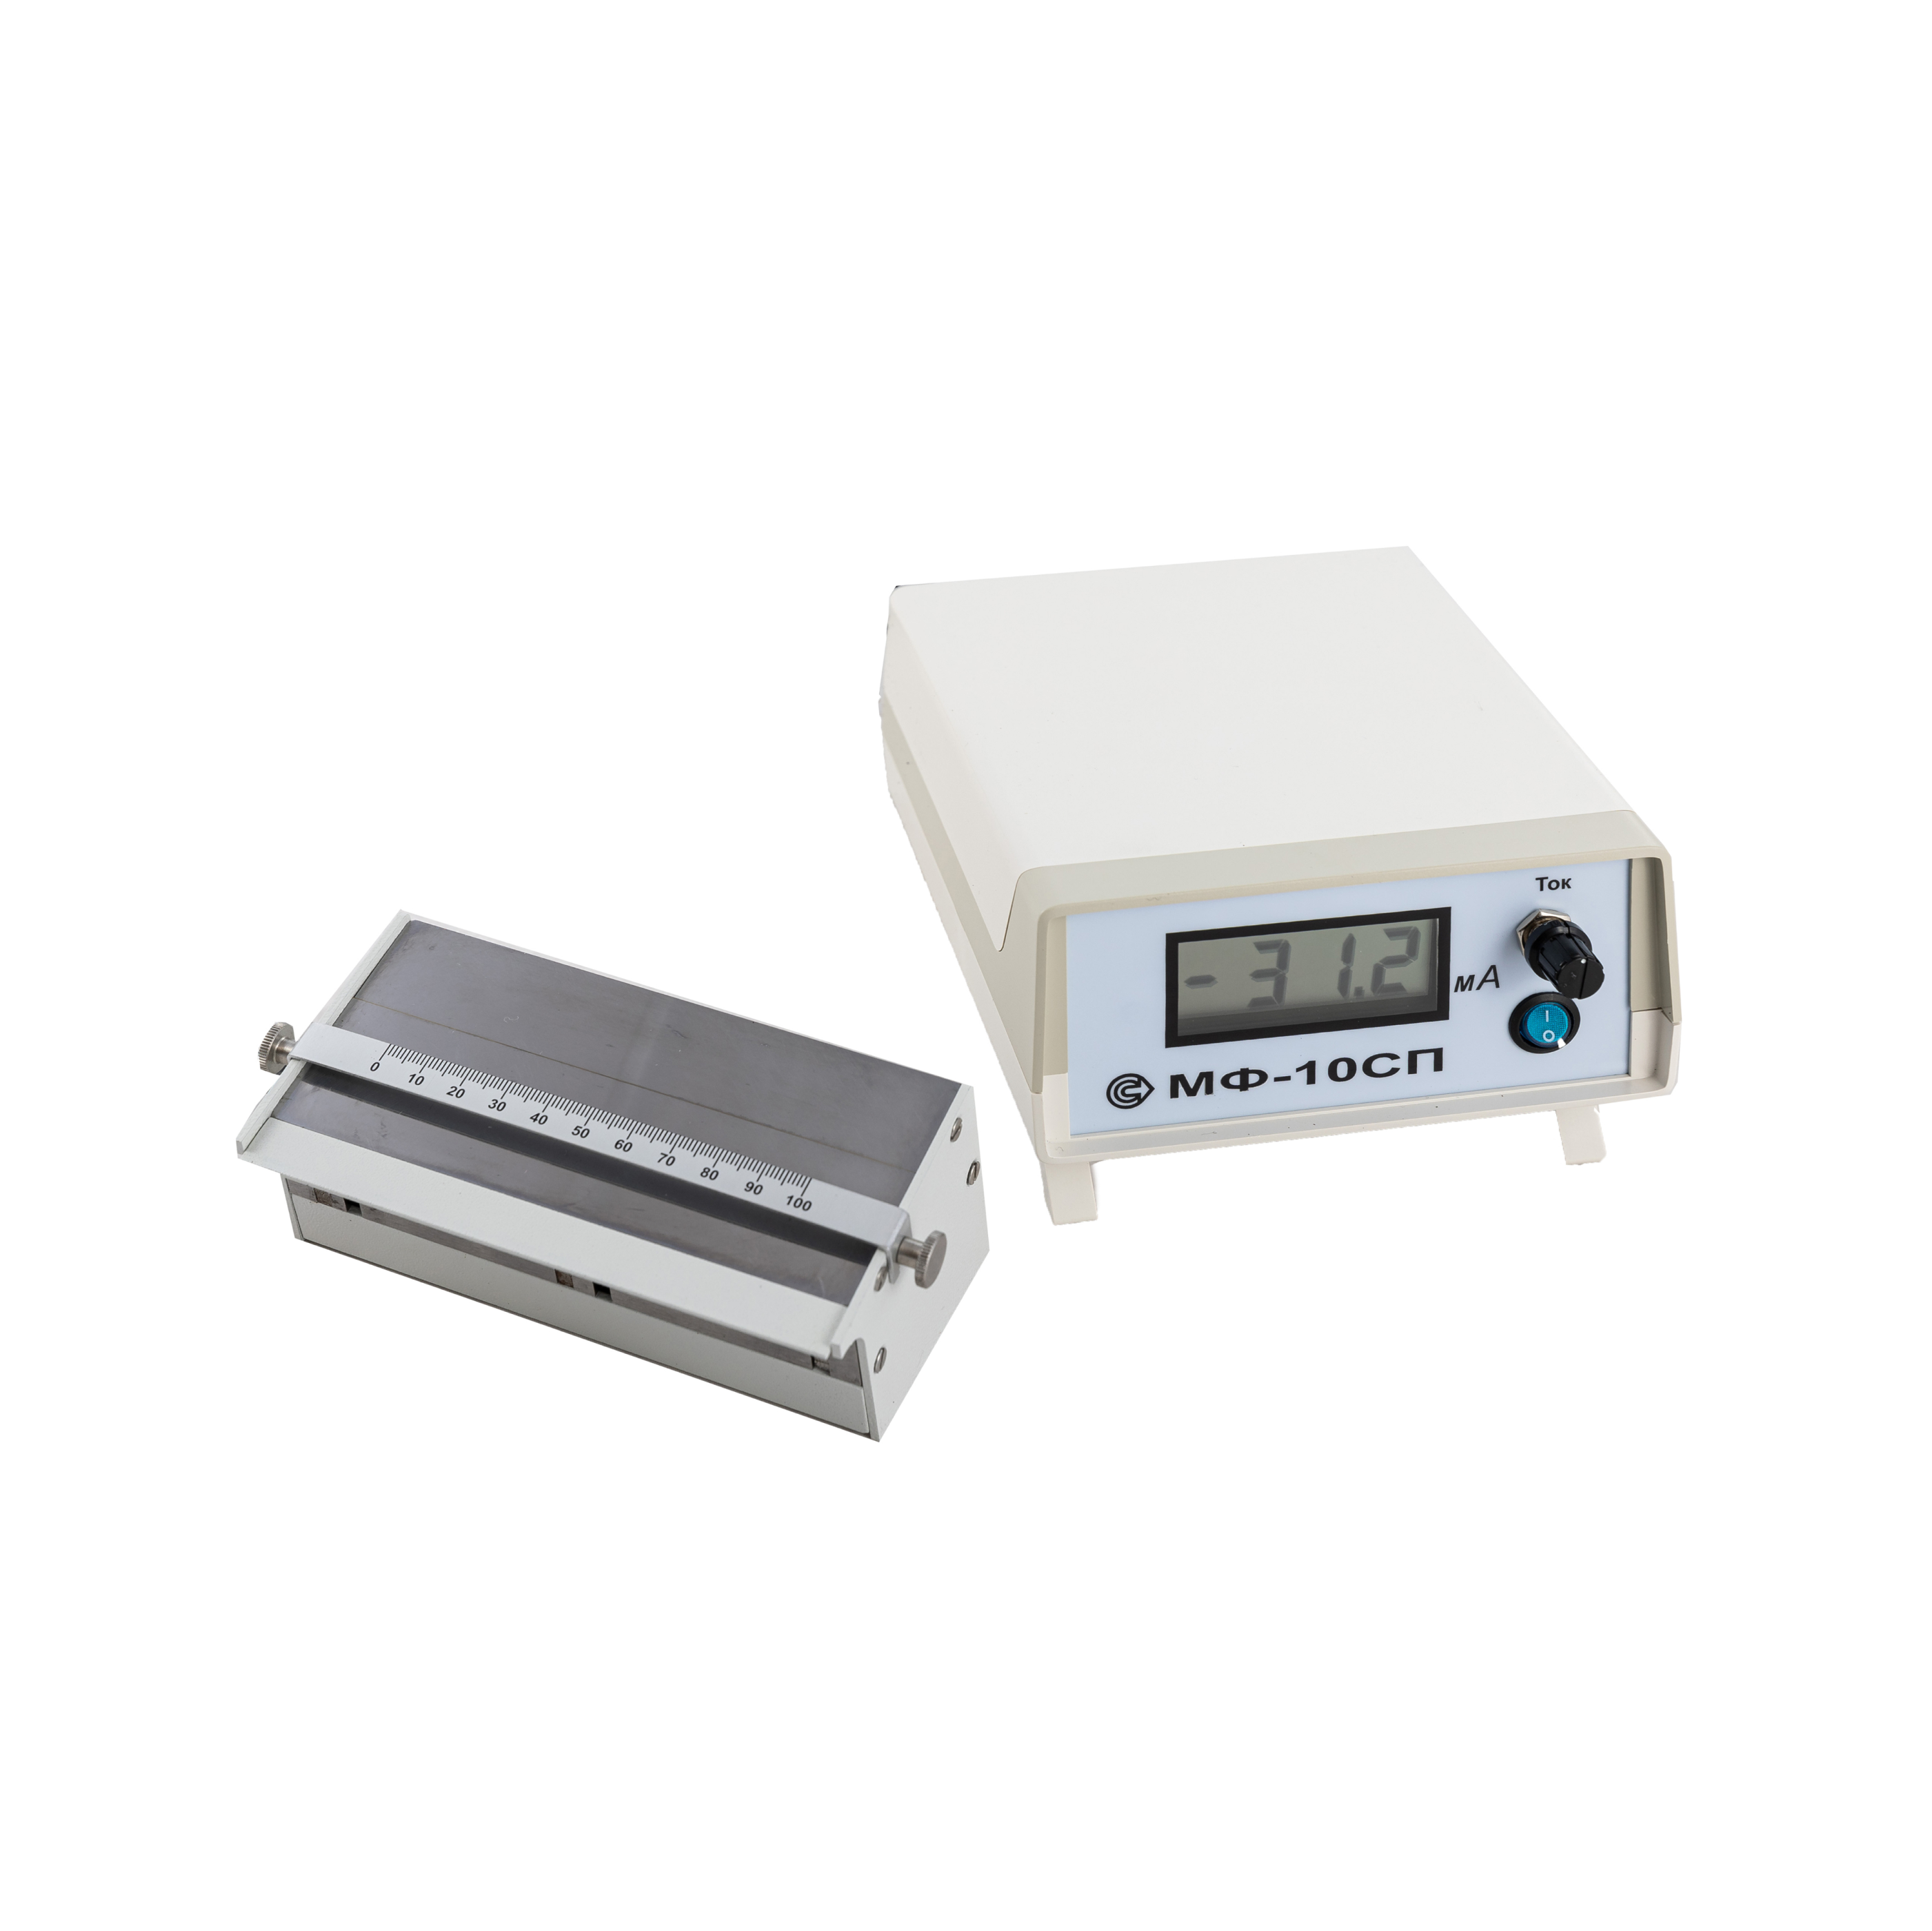
MF-10SP Device for checking the quality of magnetic powders and suspensions
from
225 600 ₽
Technical specifications:
The range of regulation of the magnetizing current is 0.06 to 0.10 A.
The magnetizing current indication is digital.
The nature of the change in the magnetic field is uniformly decreasing along a scale with a length from 0 to 100 mm.
The width of the opening of artificial discontinuities in the magnetic circuit of the electromagnet is 50 and 100 microns
The electrical power supply of the device is carried out from an alternating current network with a frequency of 50 Hz, a voltage of 220 V.
Power consumption is no more than 20 VA.
Overall dimensions:
- electronic block, mm, no more: 230x150x70
- electromagnet, mm, no more: 155x65x70
Weight:
- electronic unit, kg, not more than: 1
- electromagnet, kg, not more than: 1.6
Equipment of the MF-10SP:
- electronic unit - 1 pc.
- electromagnet - 1 pc.
- suspension collection tray - 1 pc.
- VP-1-1-0,25 A protector - 2 pcs.
- carrying case - 1 pc.
- passport, operating manual, calibration instruction - 1 set.
RII MNPO SPEKTR
Moscow
Produced in: Moscow
